UPDATE!!!!!
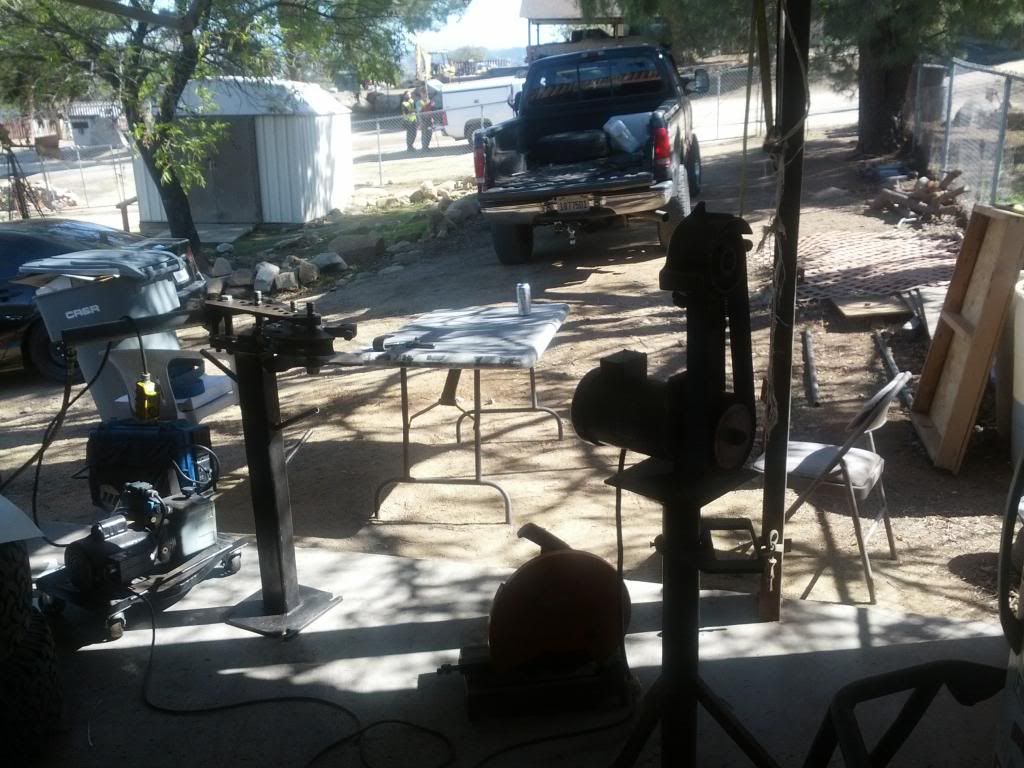
Started ripping into her this weekend/week. I'm getting ready to install the Camburg beams, and decided rather than do the work twice, to just do coilovers right off the bat. I've decided I won't be running bypasses with these beams, to keep it simple and easy I'll be doing only a coilover up front. When the time comes, I"ll build a new engine cage and equal length beams, then run a bypass and coilover up front. So we started tearing into her!
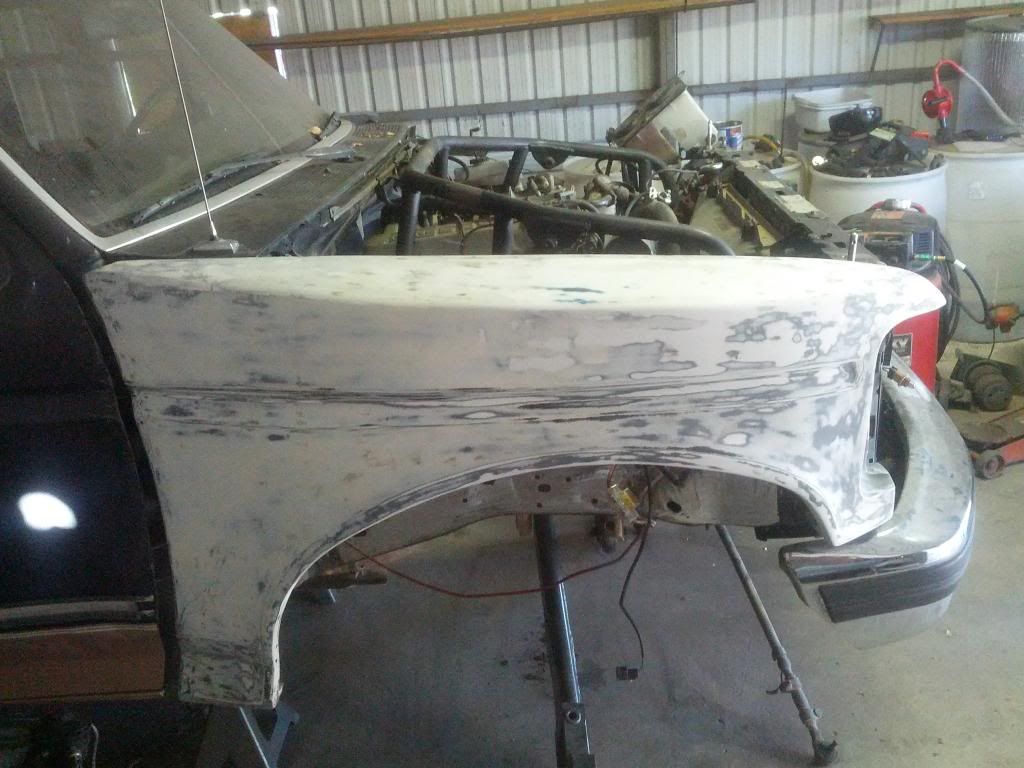
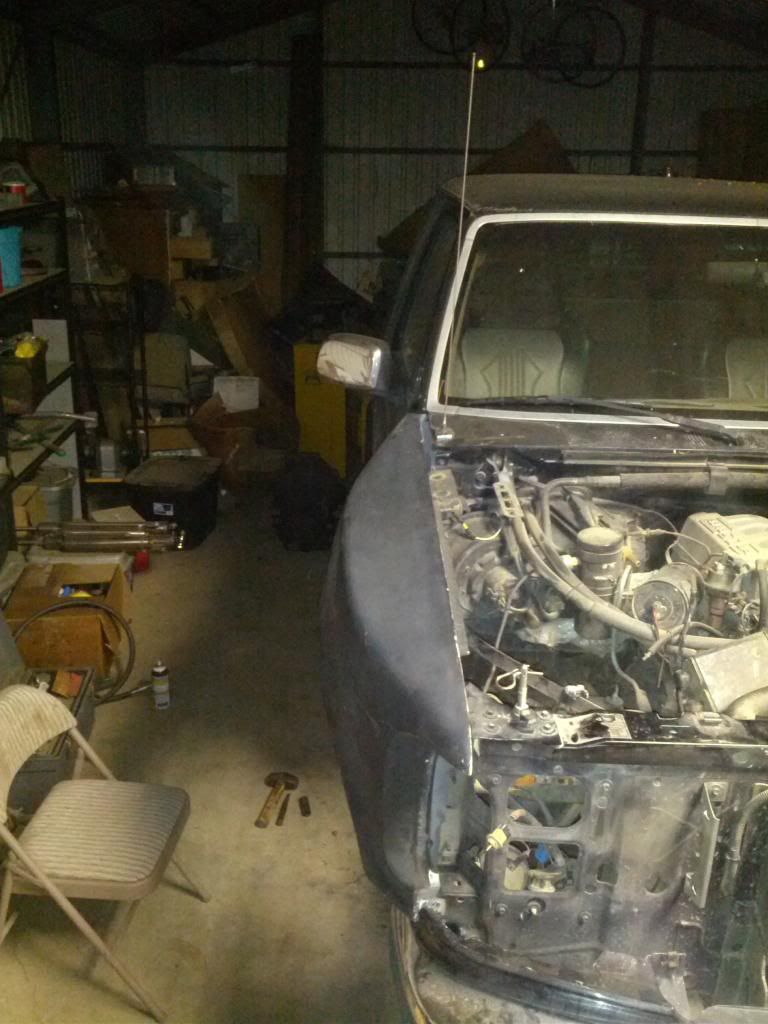
Got the fenders off first in prep for the new inner skins to hang the glass. First things off, last things on!
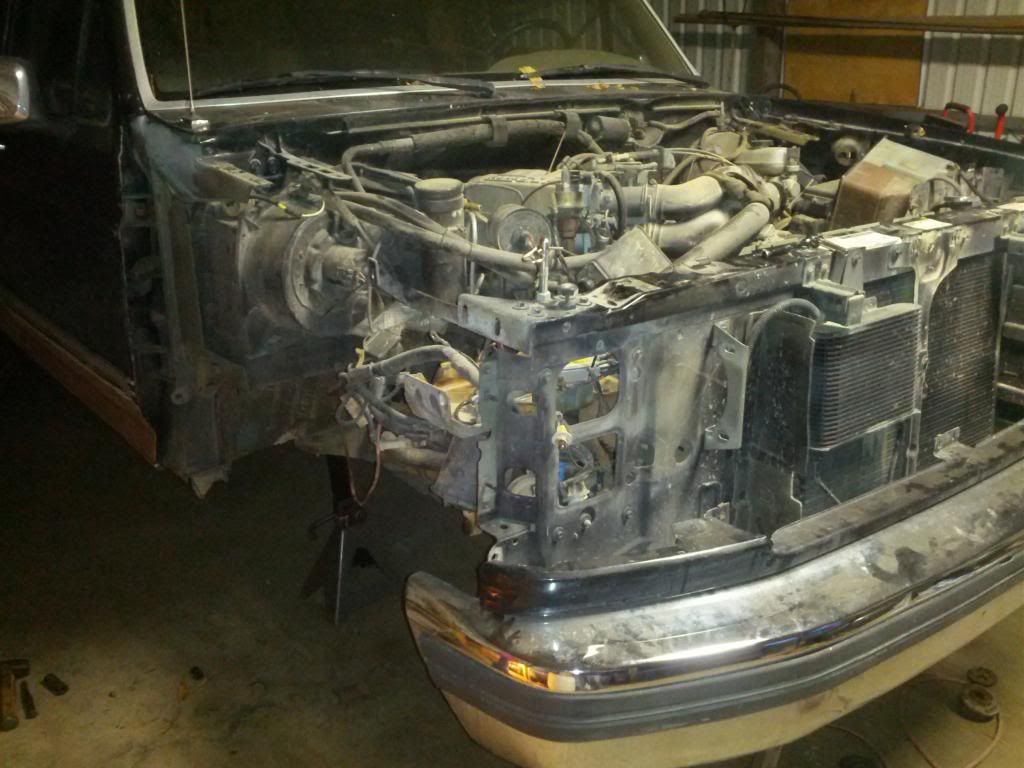
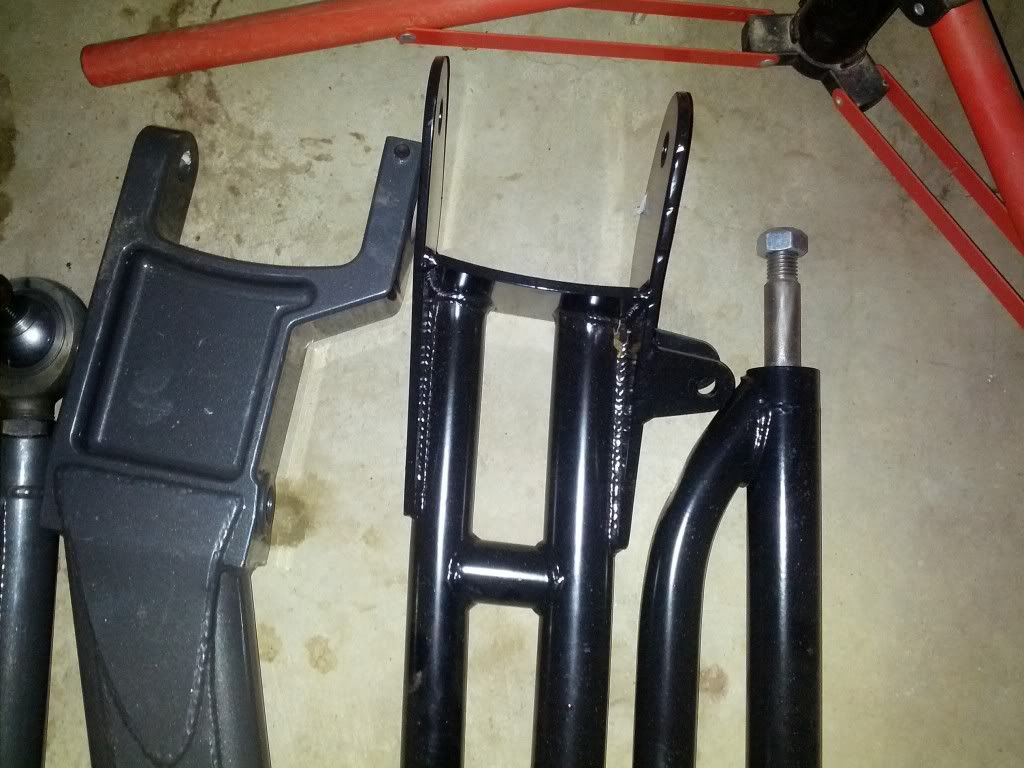
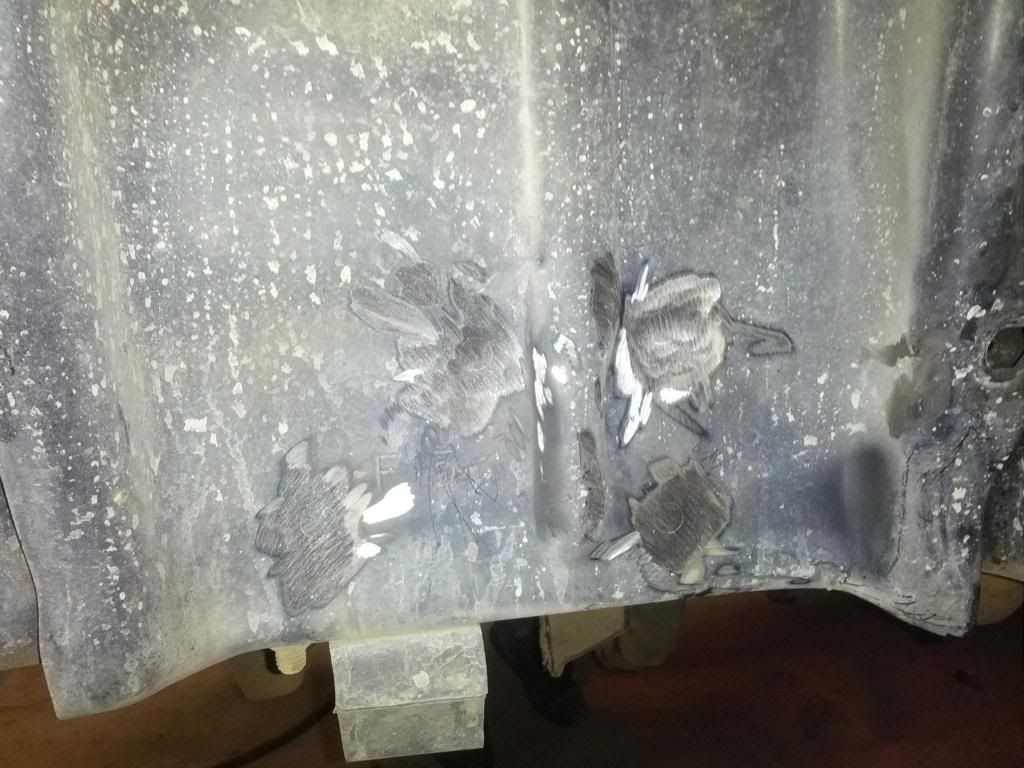
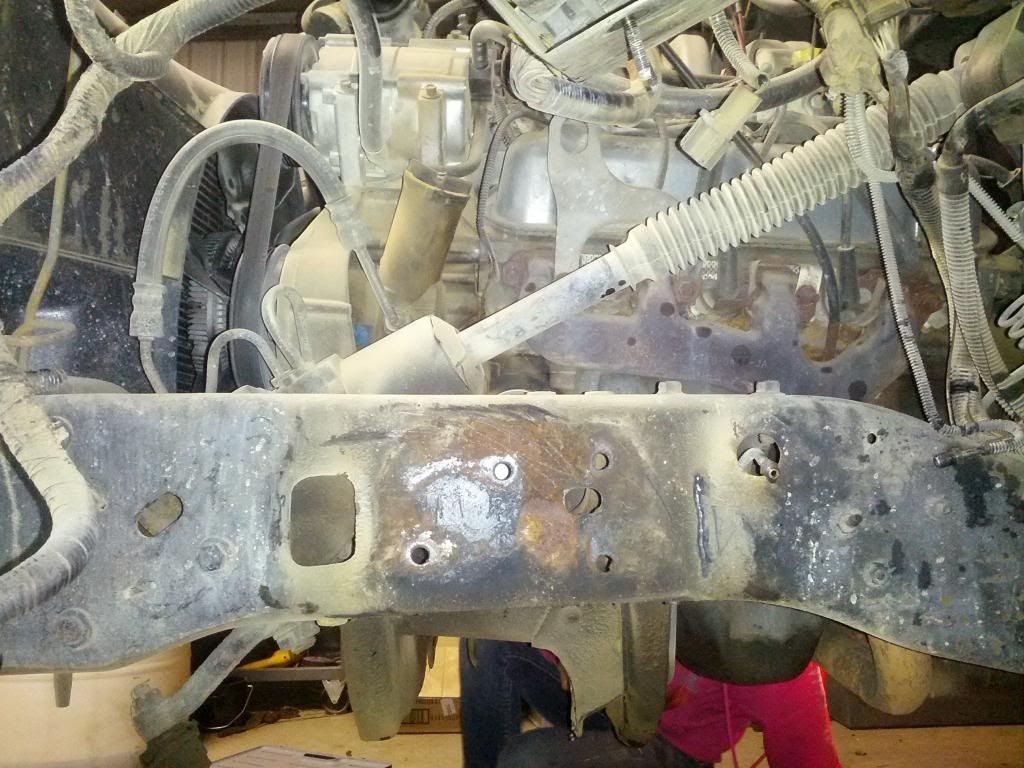
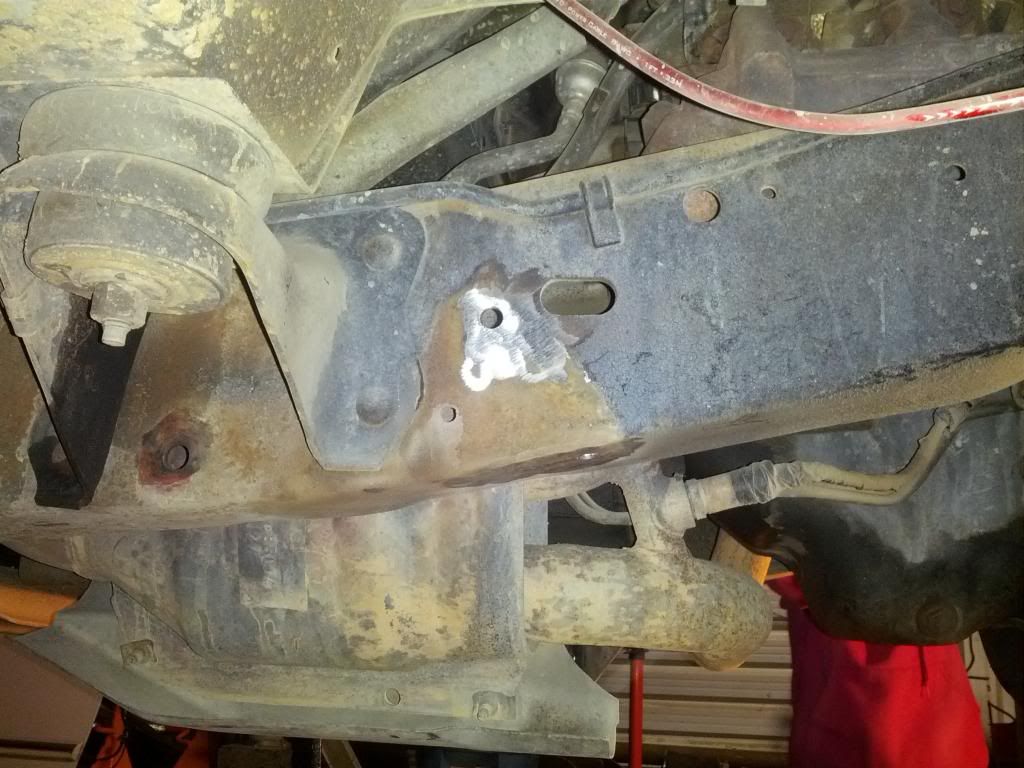
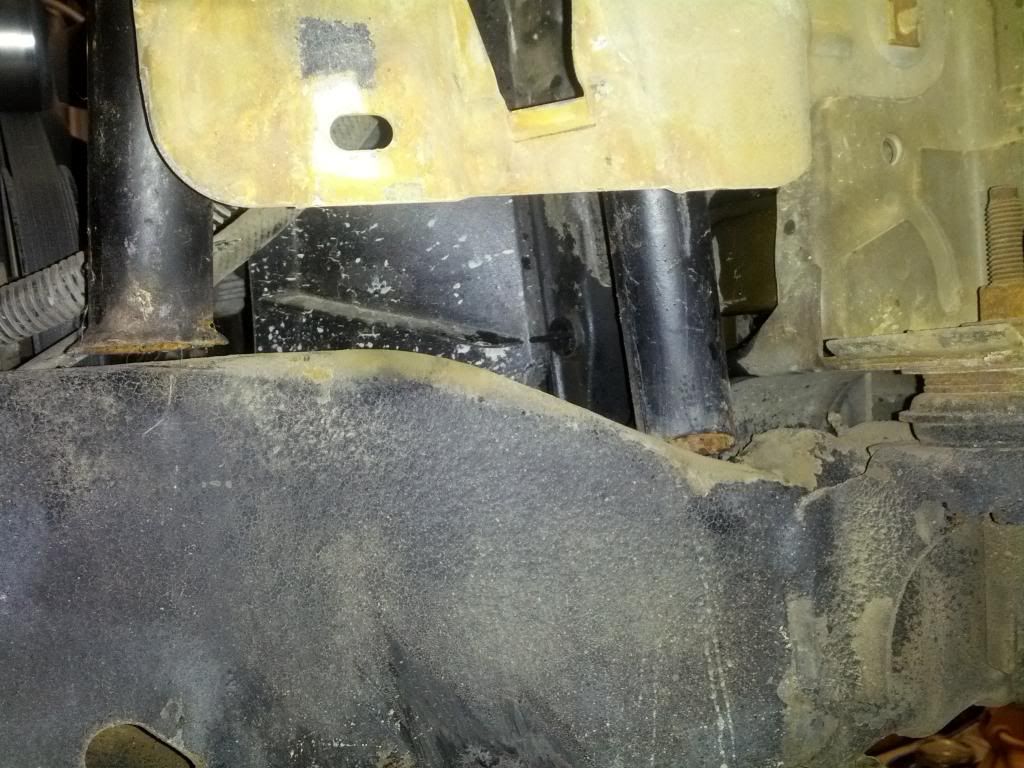
I had the prettiest helper in the world helping me with all the stuff that big hands can't get to... Once the fenders / skins were off it was time to attack the radius arm brackets and the coil/shock tower. I wasn't lucky enough to have mine held on with bolts, 6 rivets per coil tower and 3 per radius arm bracket... ugh!
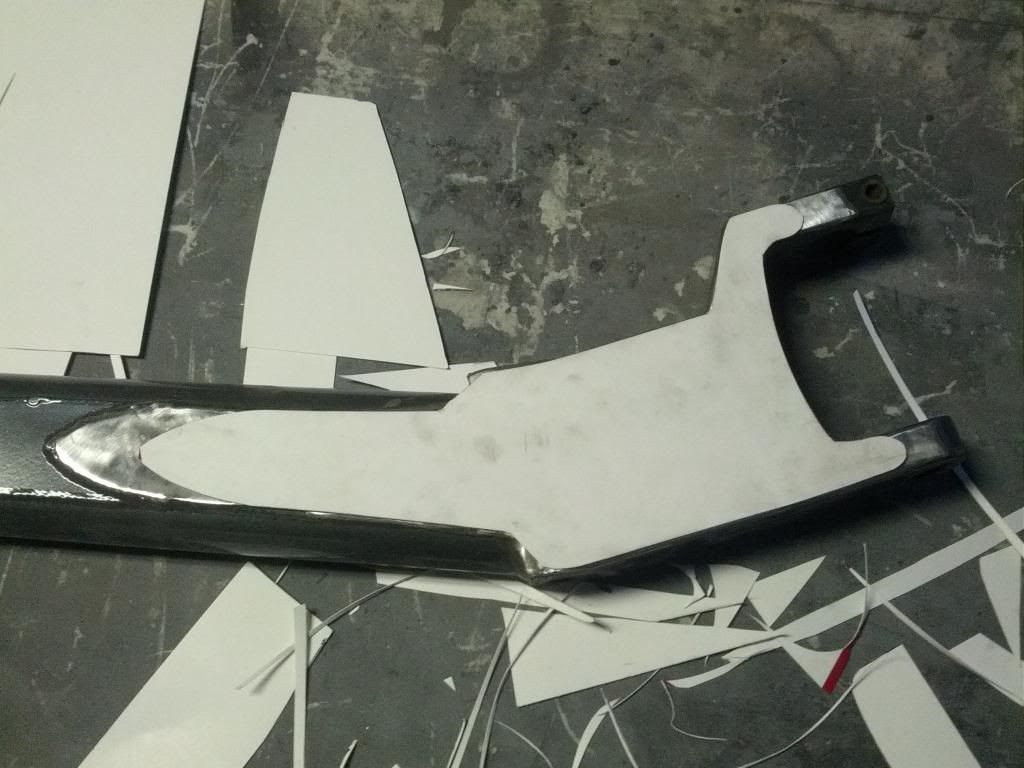
And just for fun to see what they're gonna look like...
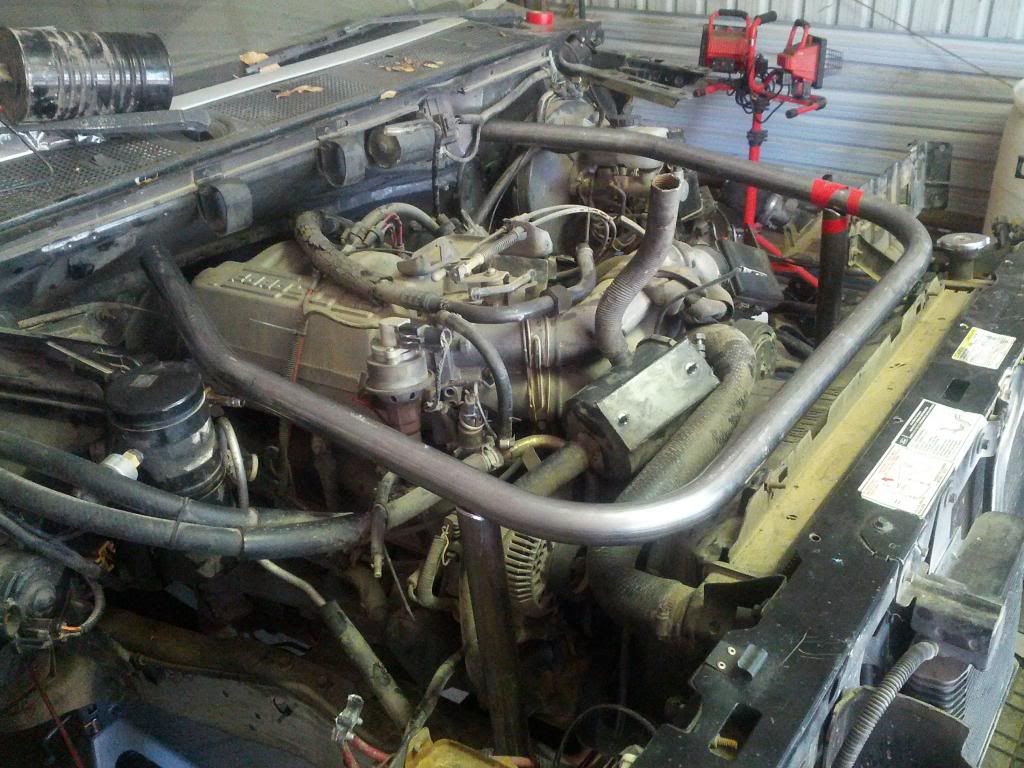
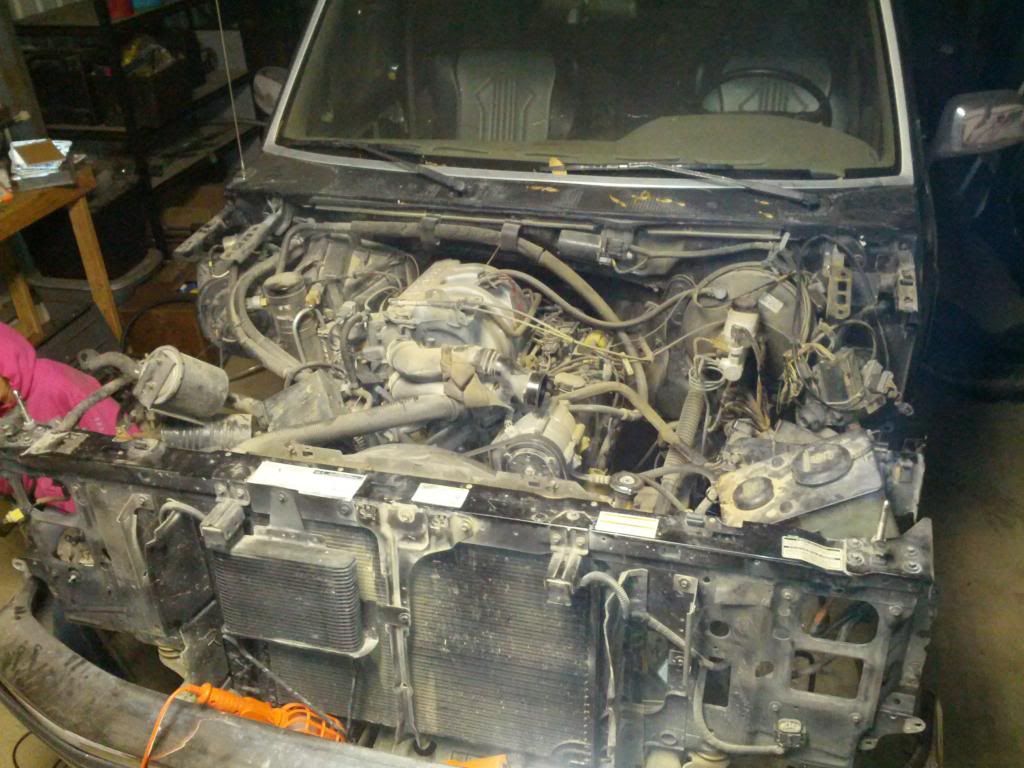
Once that was done we called it a night. So today, I finally decided to just bite the bullet and pick up the engine cage that Travis has been trying to sell forever. He made me an awesome deal on it, and it appears it's going to work GREAT! Thanks again Travis! First things first, let's try to drop this bitch in!
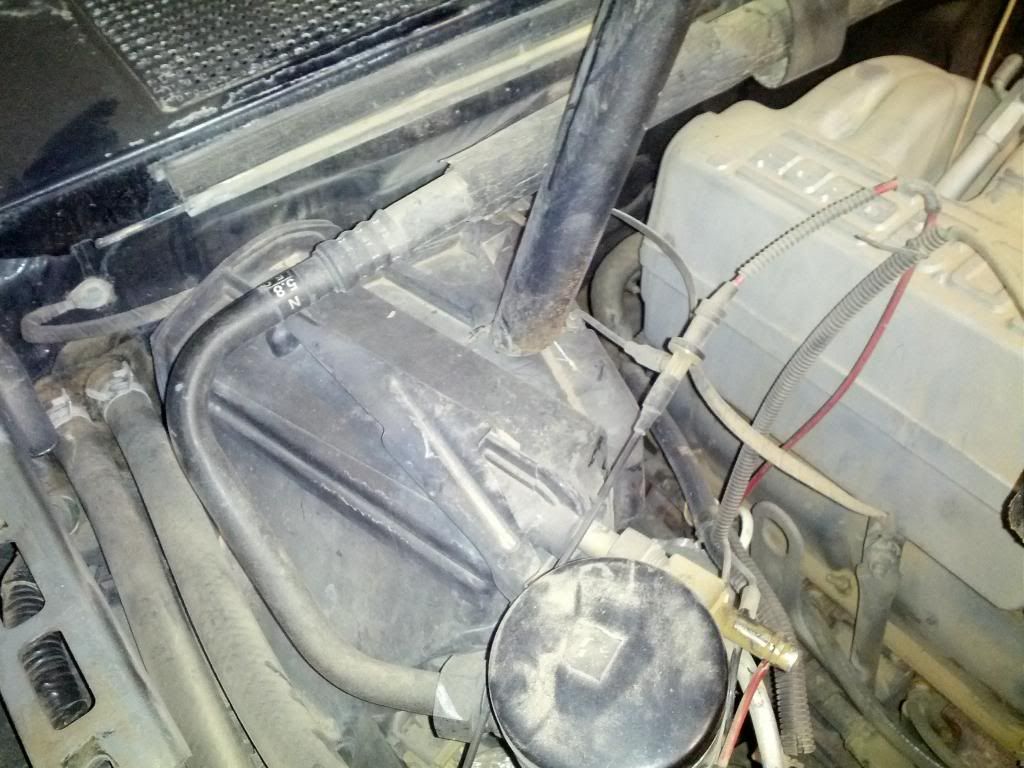
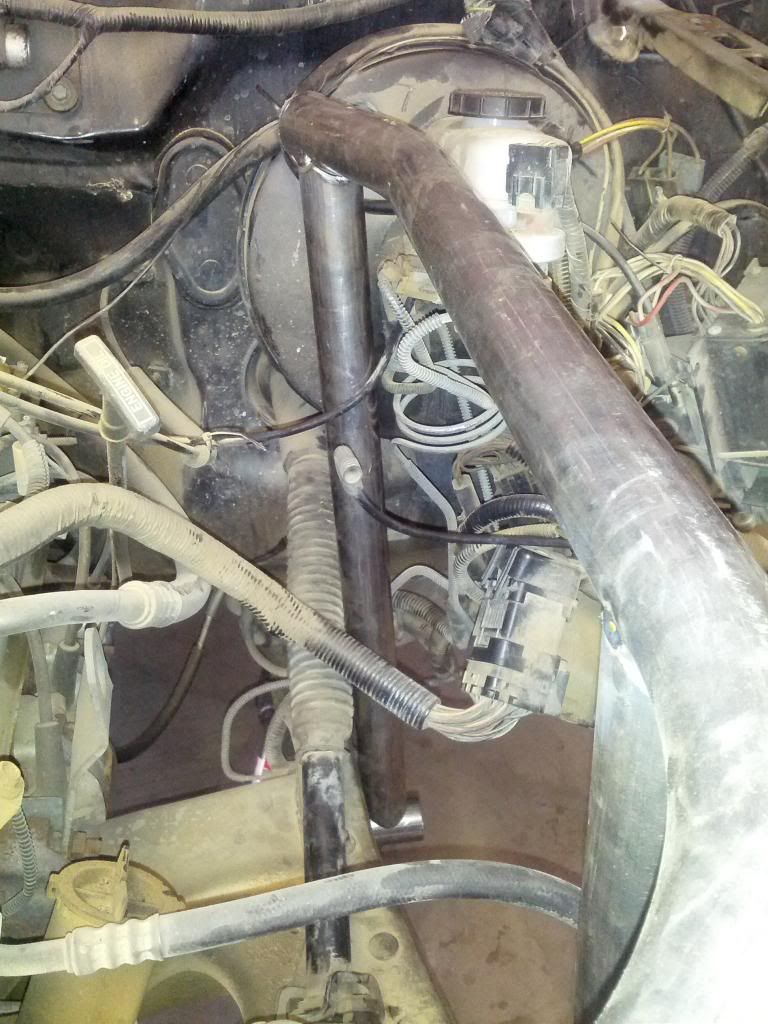
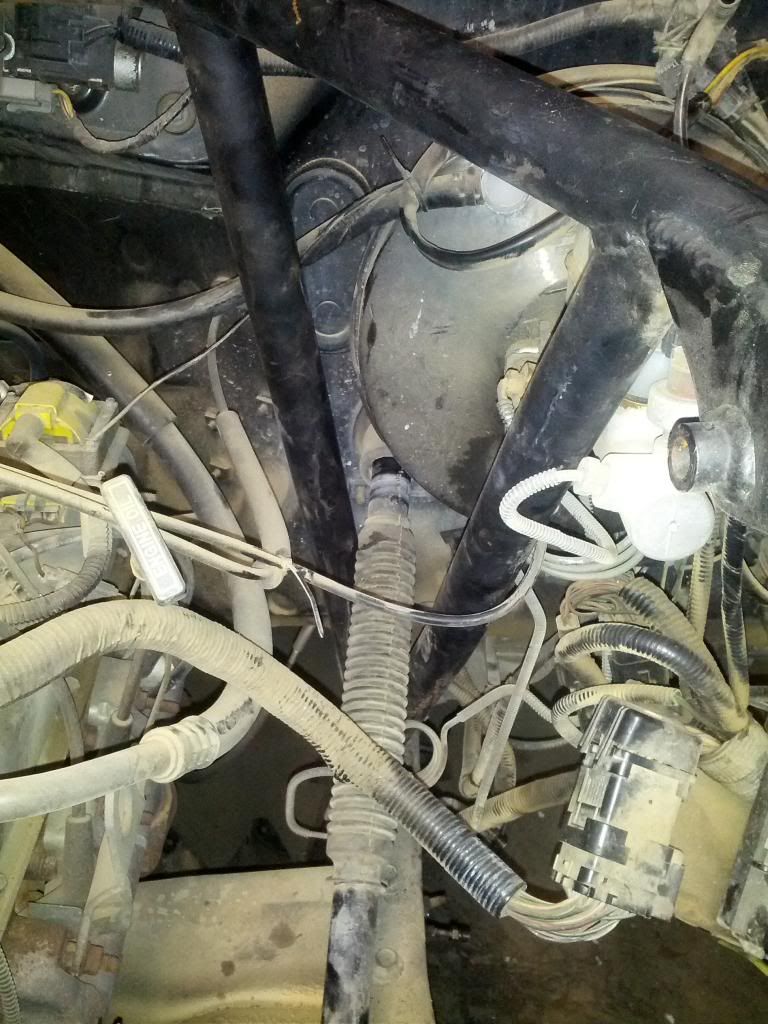
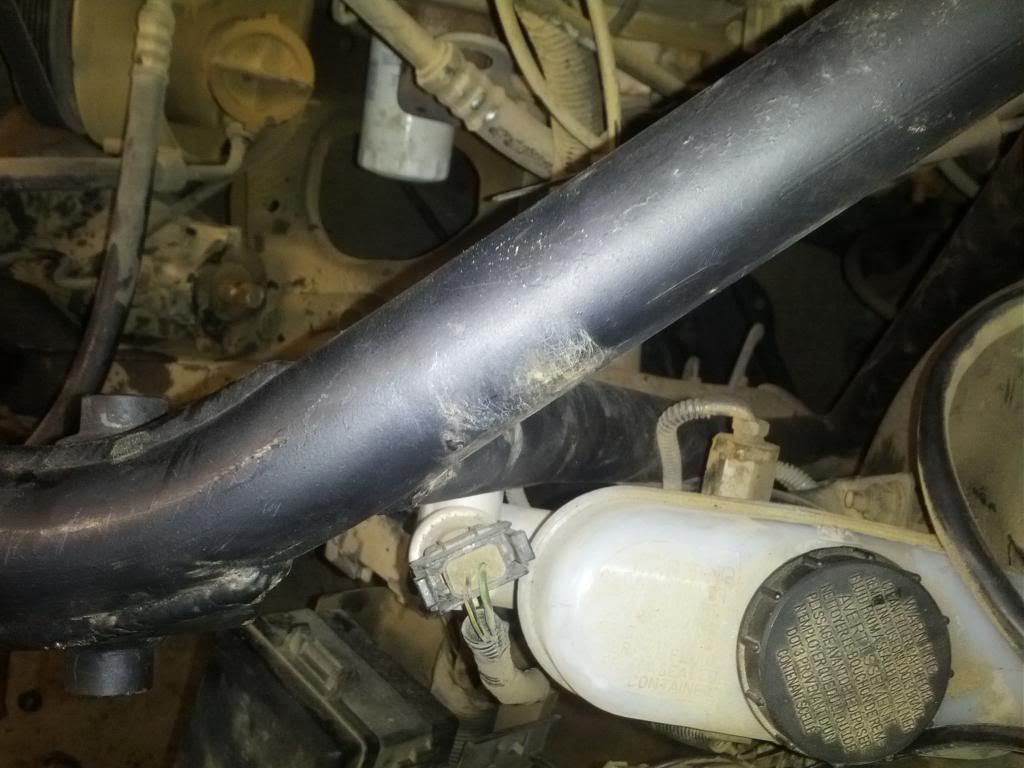
Welp... shit that's not going to work. So I started taking off the AC box. Pretty quick work, though the plug inside the cab for the ac box was brittle and broke, looks like it'll still work though thankfully.
Figured out we'd have to remove the steering shaft as well, which I figured by looking at the cage, but gave it a shot first.
After removal, she slid down quite a ways, but still wasn't fitting quite right as you can see!
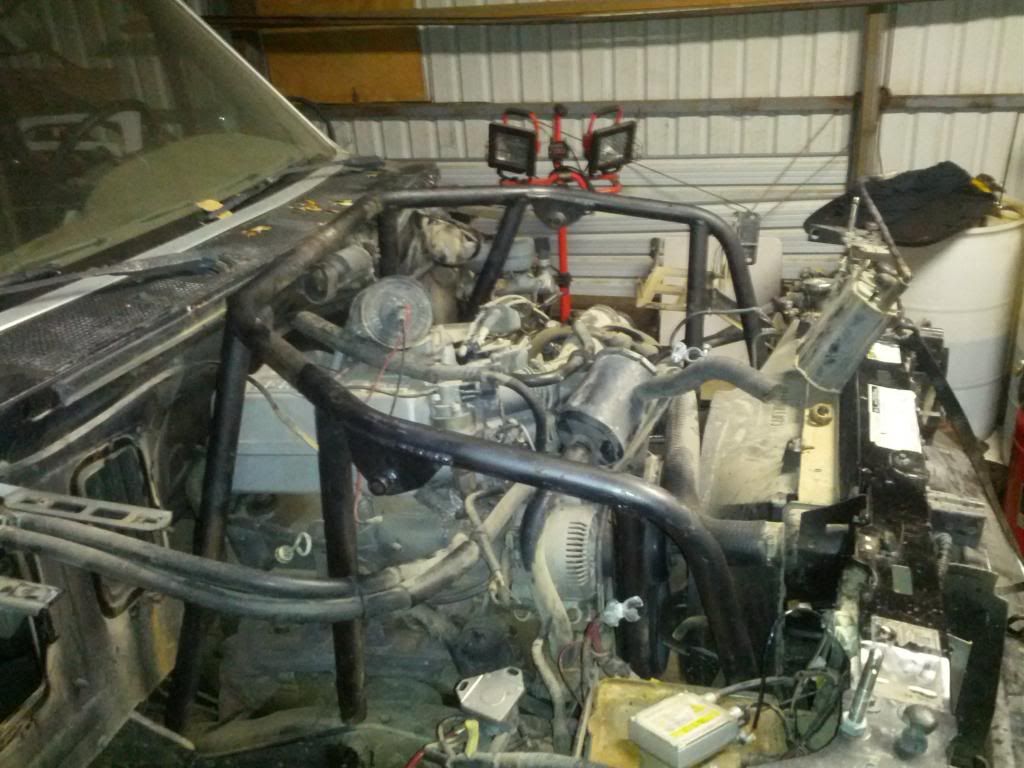

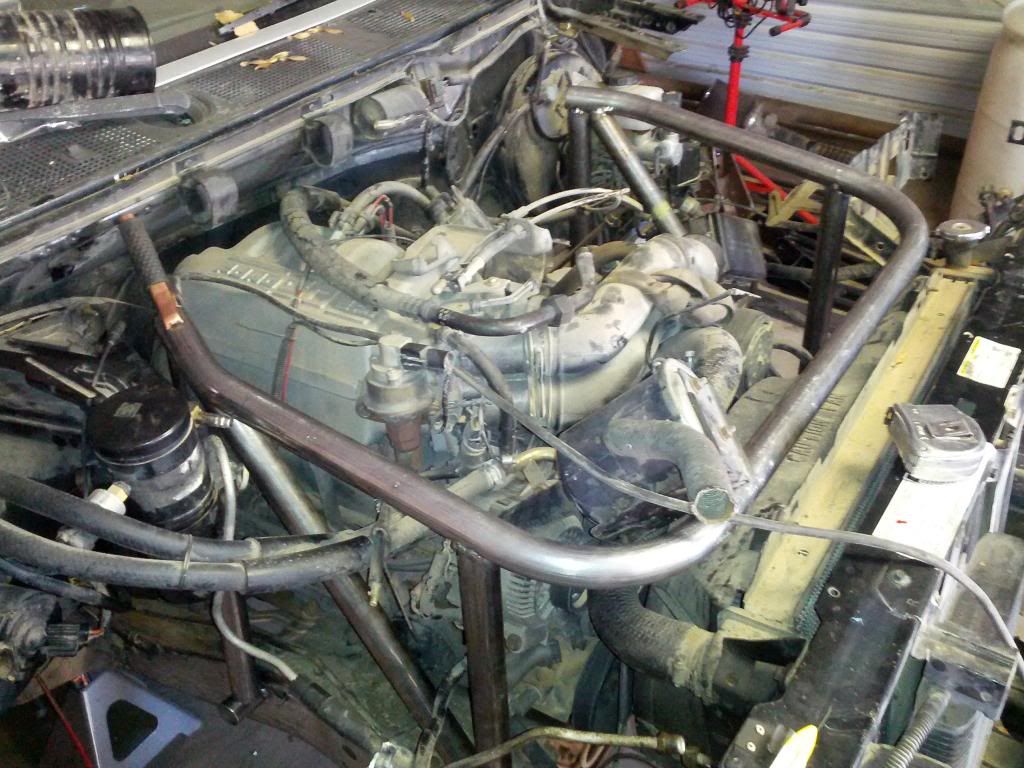
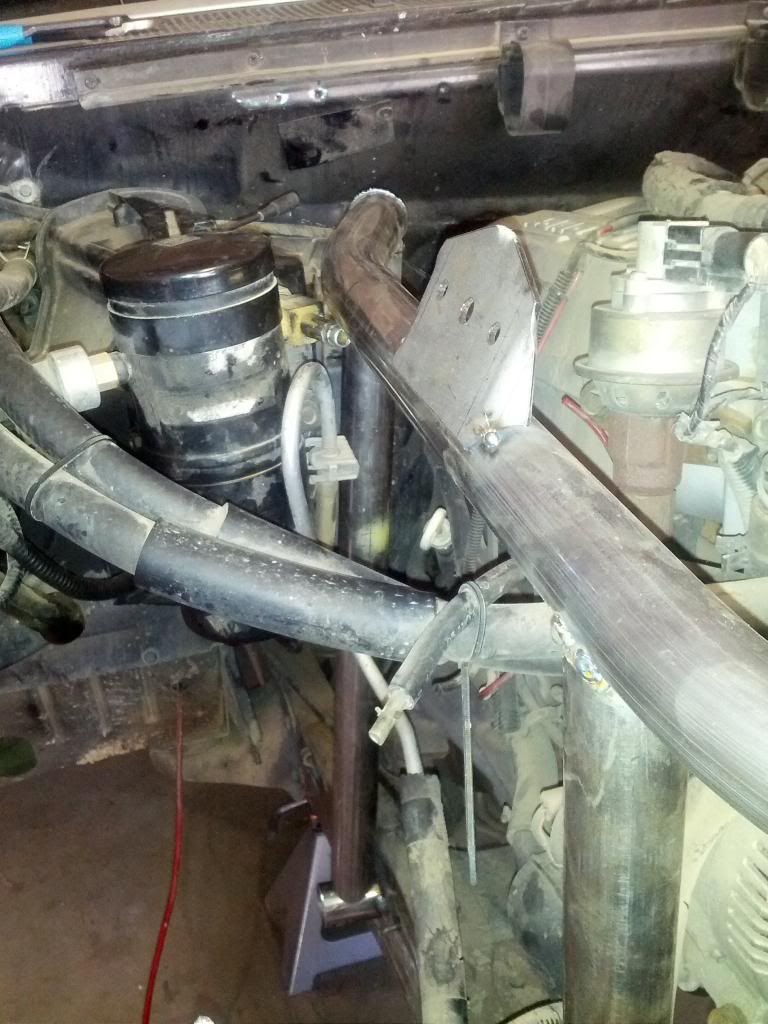
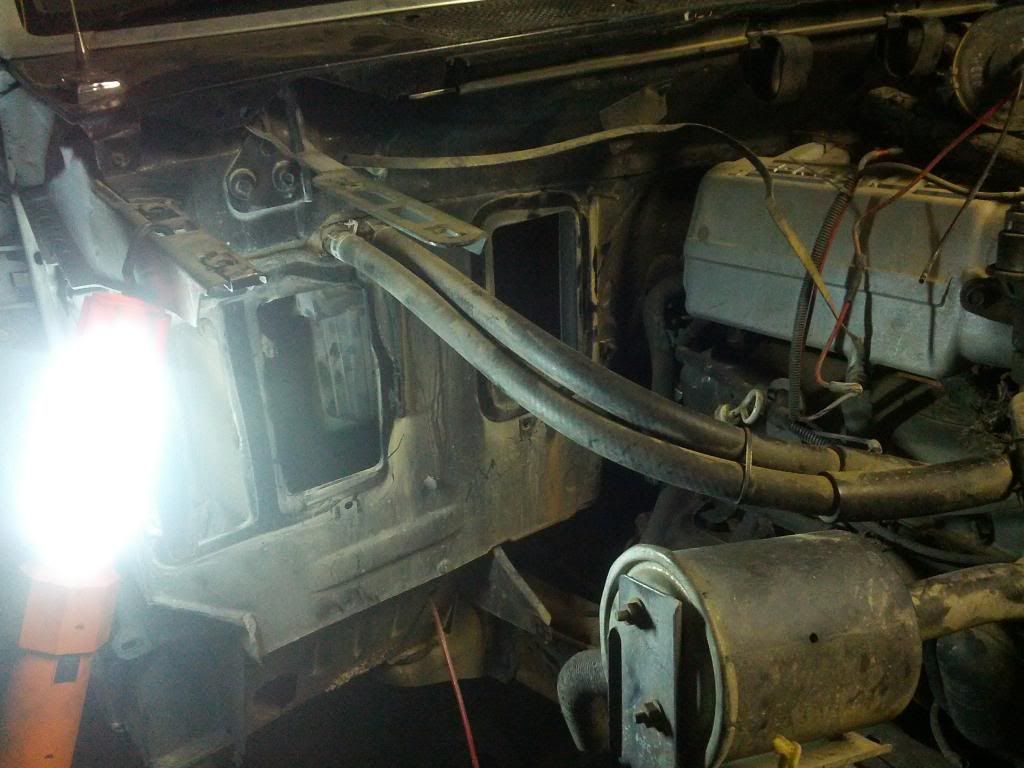
I figured out I had to move the header panel forward, so we loosened the bolts and slid her forward! She fits!!!!!!!

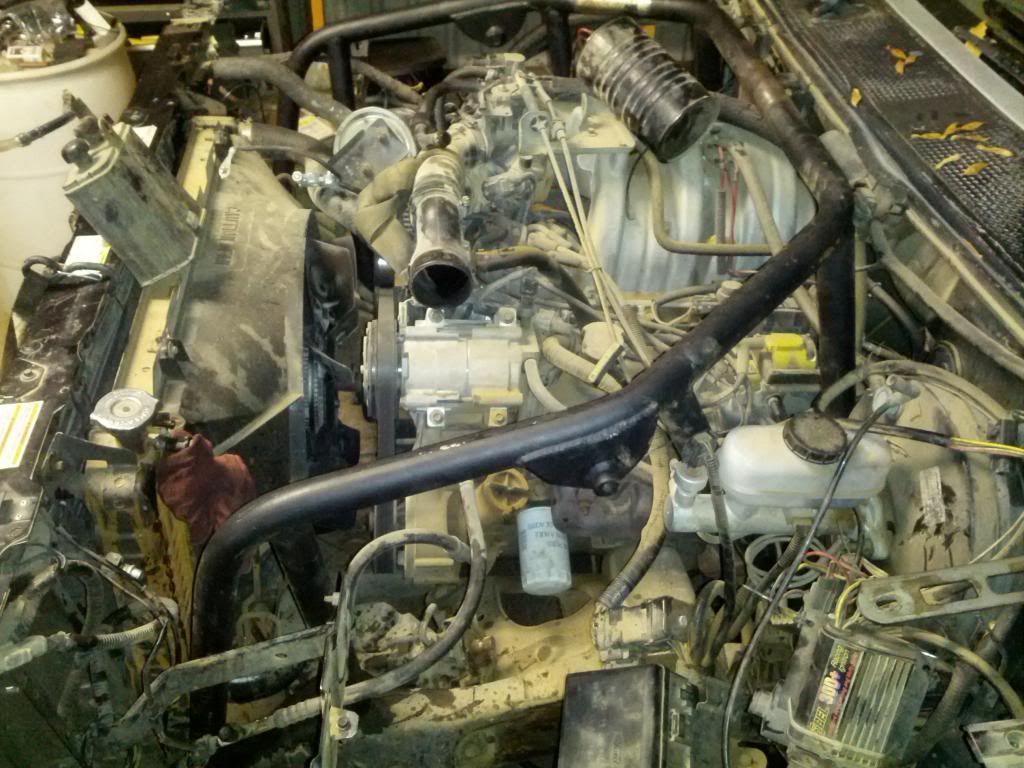
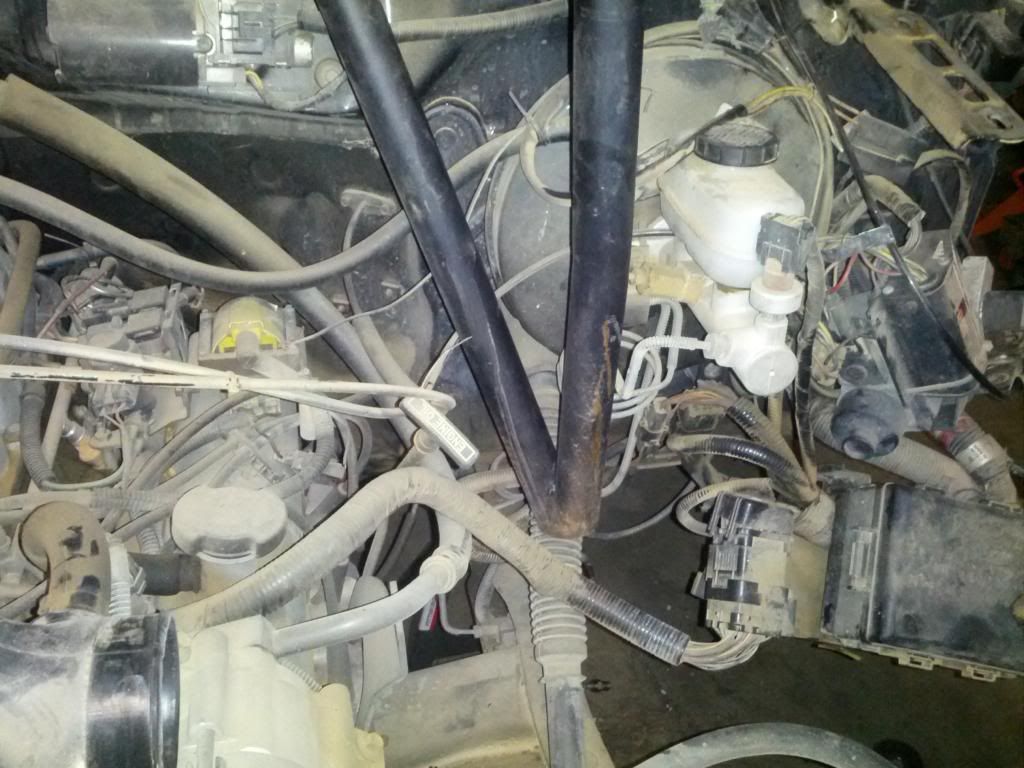
It's a bit tight on the master cylinder, not sure there's much I can do about that though, as the other side is tight against the AC box. But you can see I've got the steering column slid back into place here to show where it's supposed to run!
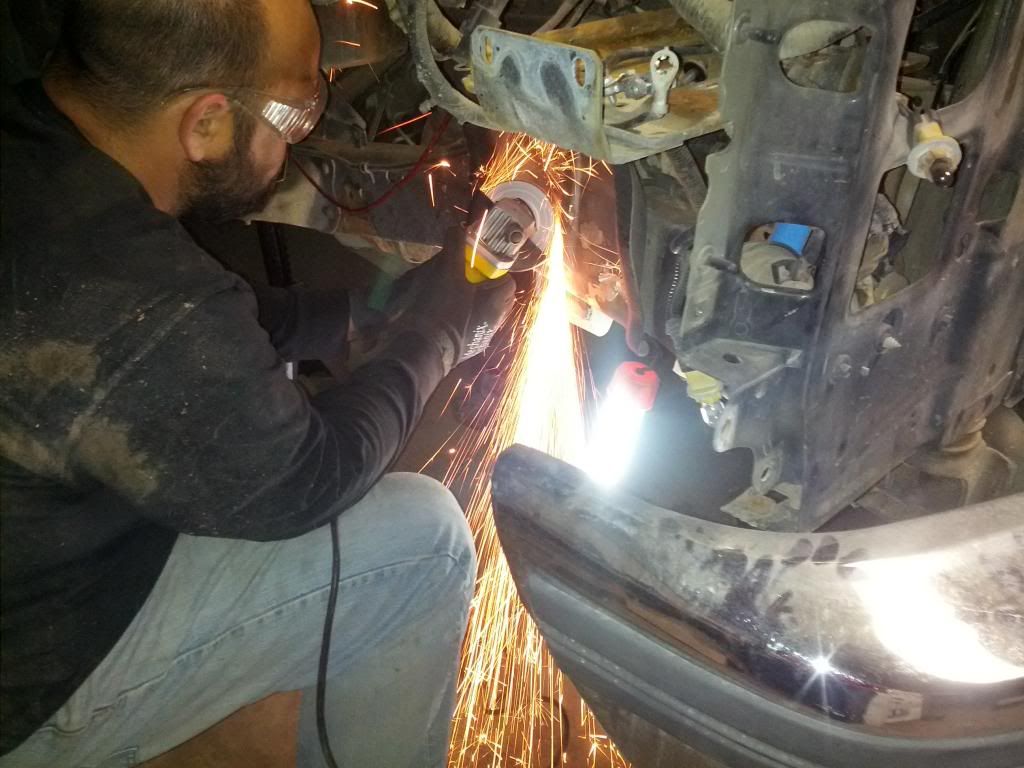
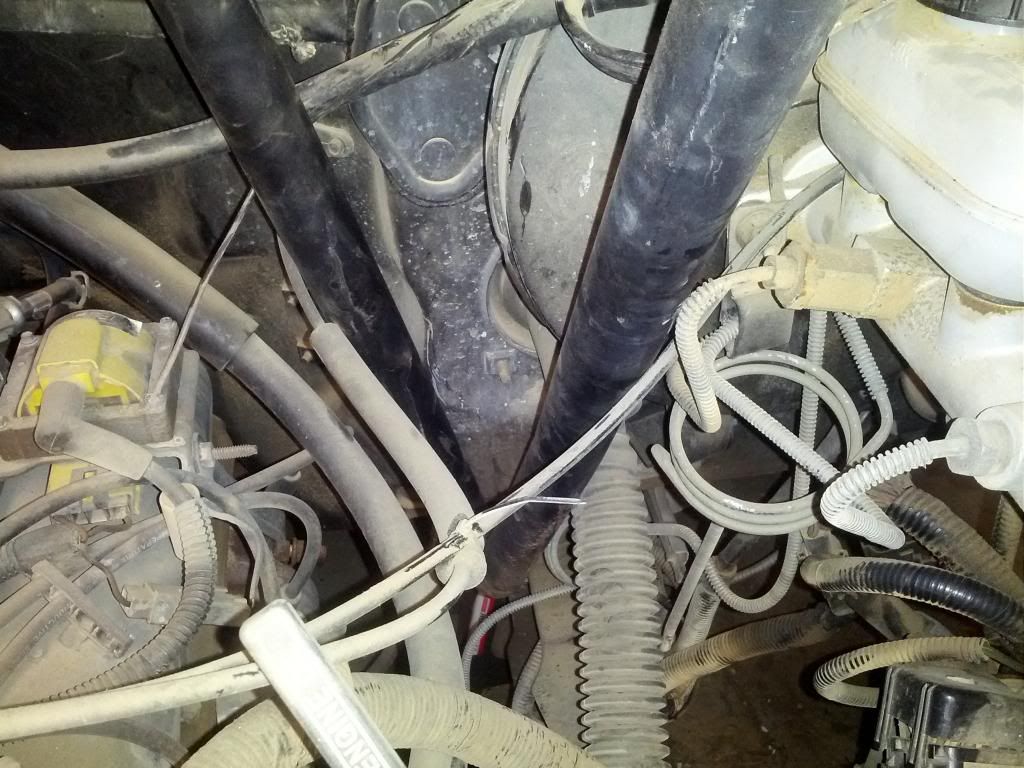
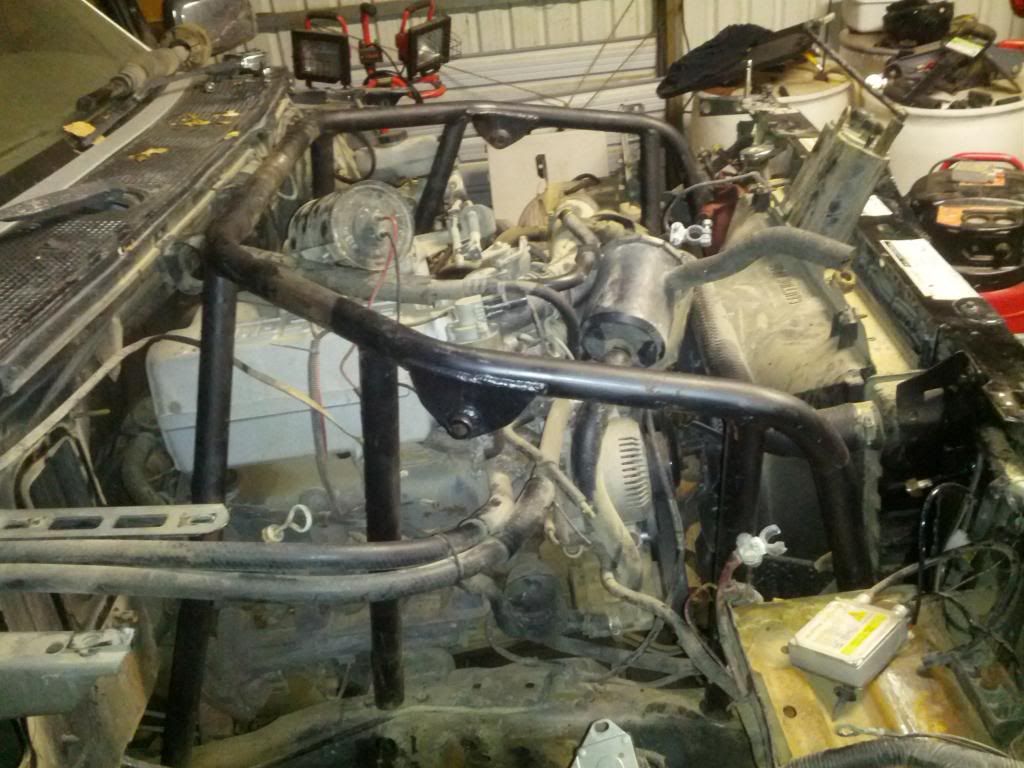
And that's all for tonight, I'll go out tomorrow, mark where the tubes land, and start grinding. I'll also need to sleeve a few of the tubes that were cut a bit wonky, and will probably sleeve with an inner tube to save space instead of outter. Otherwise she's ready to be welded!