Dezertrage Bronco

User avatar
ESHALLBETTER
Posts: 1580
Joined: Fri Dec 11, 2009 8:49 am
Bronco Info: 85 class 3, 70's somthing trail bronco.
Location: Minneapolis, MN

Re: Dezertrage Bronco

Post by ESHALLBETTER »

dezertrage760 wrote:Hmmmm. I might have to do some more research. Thanks ^^^^
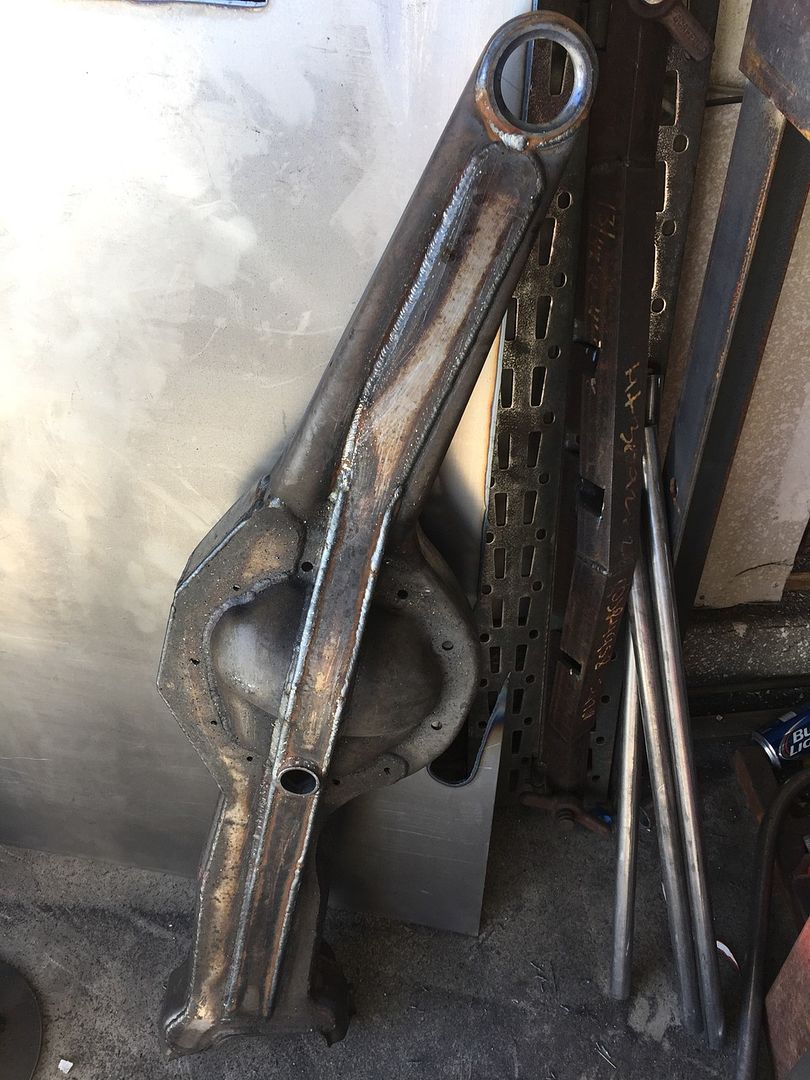
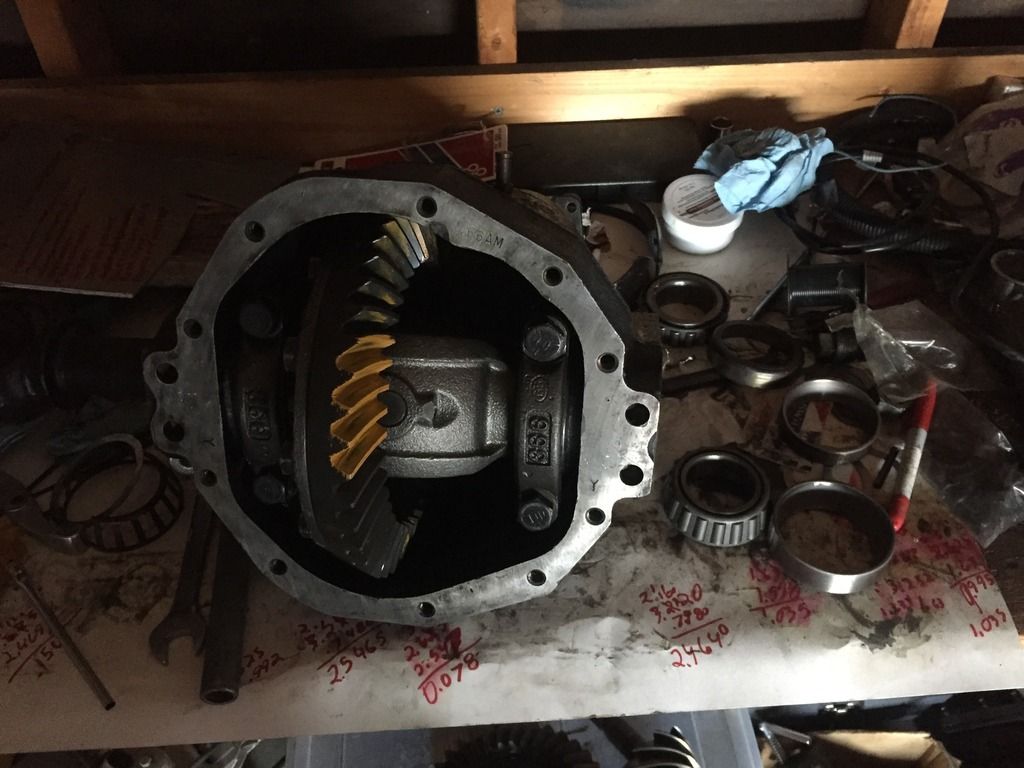
I didn't extend, but this was how I did my cut and turn. I drilled the factory mounting holes from 3/8 to 1/2, and rotated the center section to the location where the axle shaft was happy. I then welded .125" thick weld washers to the beam.

Seemed pretty straight forward.
CLOCKED DIFF.jpg
CLOCKED DIFF.jpg (77.84 KiB) Viewed 515 times
reclock washers.jpg
reclock washers.jpg (90.7 KiB) Viewed 515 times
User avatar
dezertrage760
Posts: 21
Joined: Wed Sep 05, 2012 6:29 pm
Bronco Info: 84 fsb 351w c6

Re: Dezertrage Bronco

Post by dezertrage760 »

Ok makes sense. What did you do with the two bolts on the back of the housing?
User avatar
ESHALLBETTER
Posts: 1580
Joined: Fri Dec 11, 2009 8:49 am
Bronco Info: 85 class 3, 70's somthing trail bronco.
Location: Minneapolis, MN

Re: Dezertrage Bronco

Post by ESHALLBETTER »

dezertrage760 wrote:Ok makes sense. What did you do with the two bolts on the back of the housing?
Right or wrong it was precision BFH work. The clocking didn't dramatically change its position.
User avatar
dezertrage760
Posts: 21
Joined: Wed Sep 05, 2012 6:29 pm
Bronco Info: 84 fsb 351w c6

Dezertrage Bronco

Post by dezertrage760 »

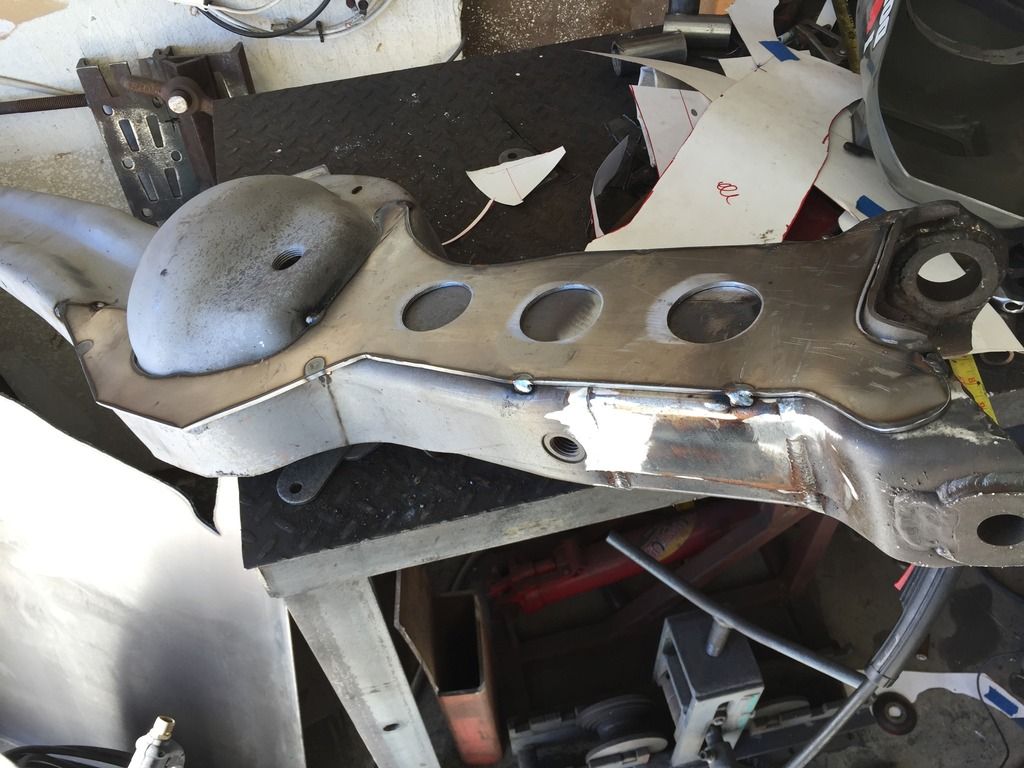
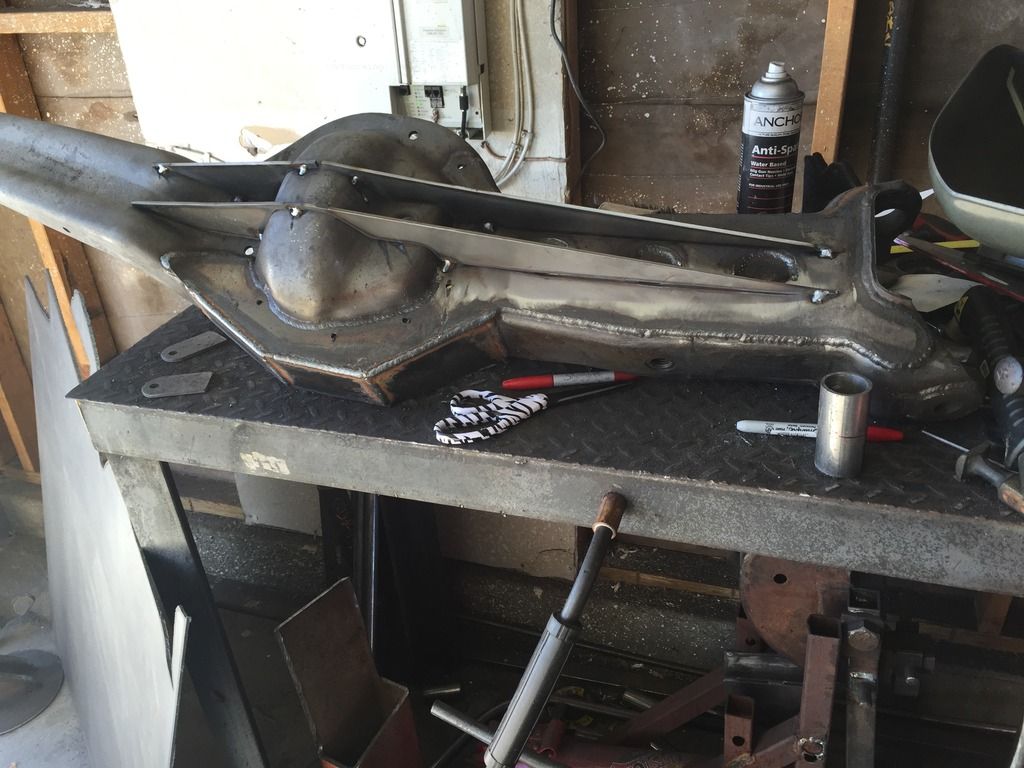
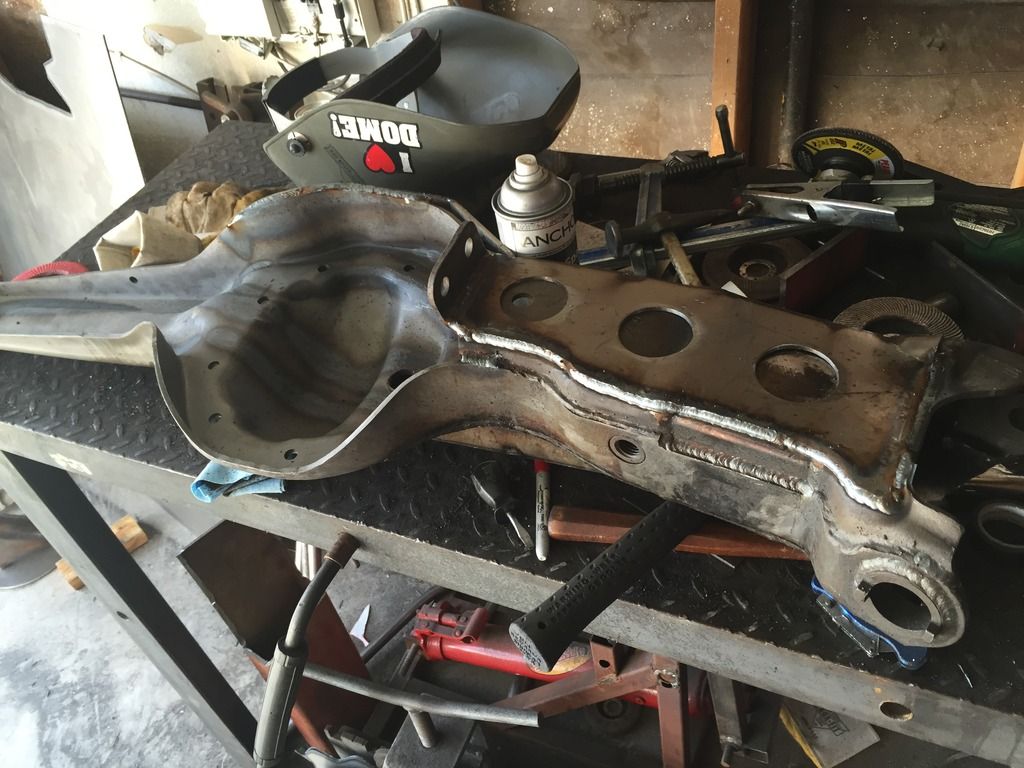
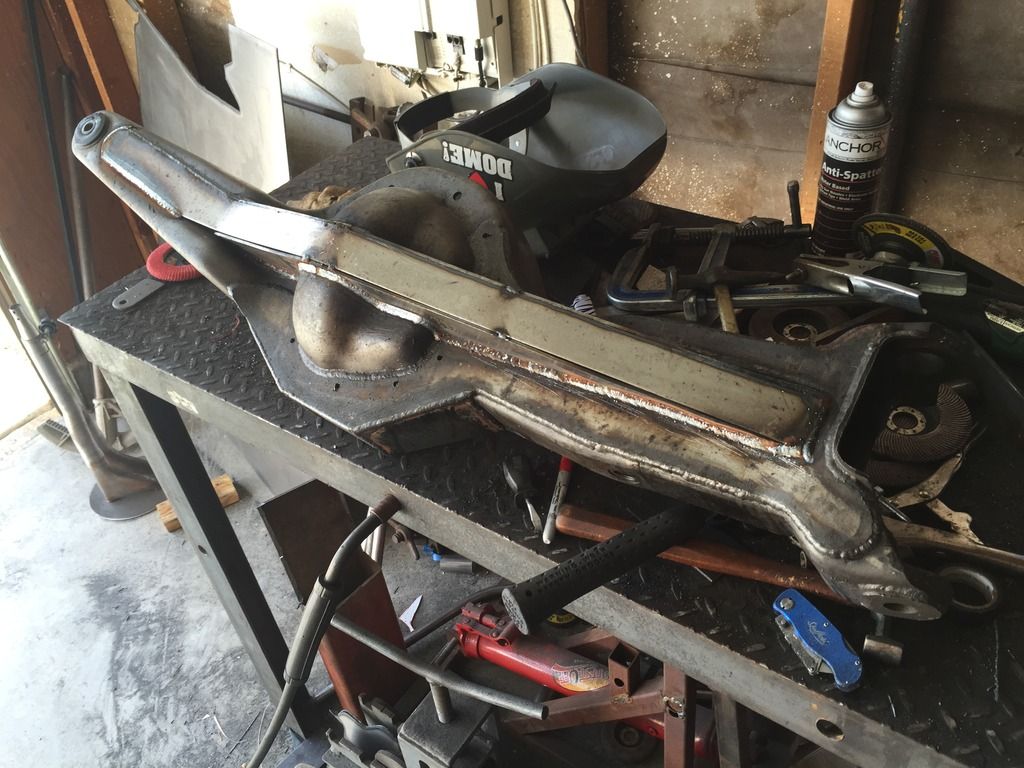
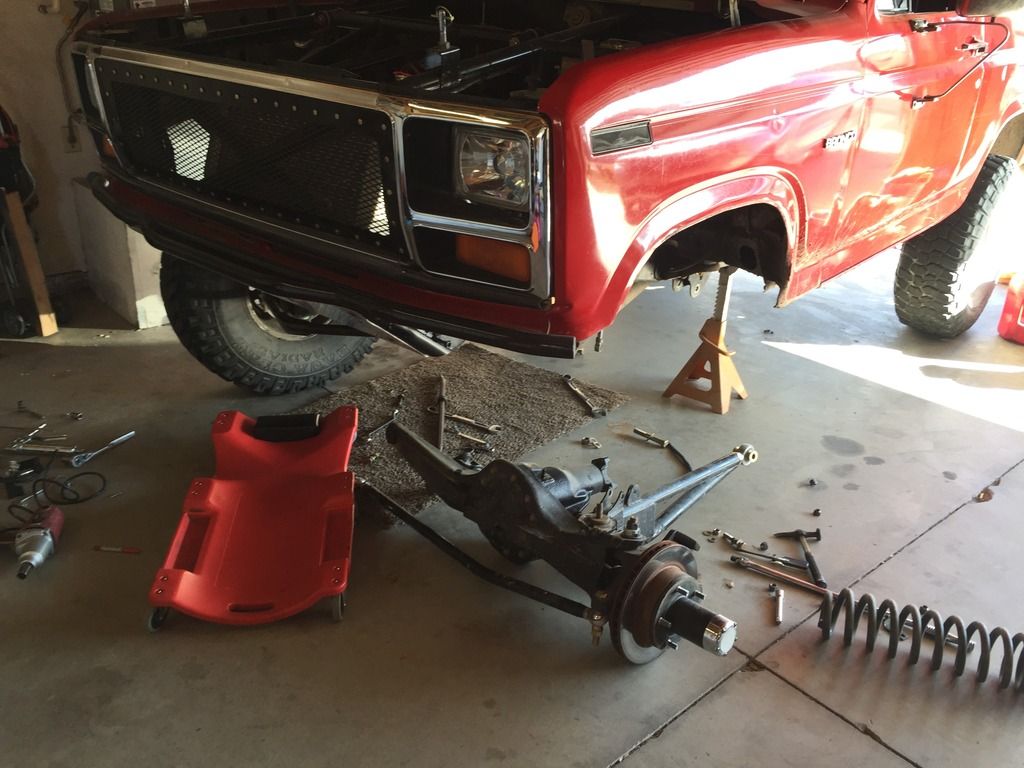
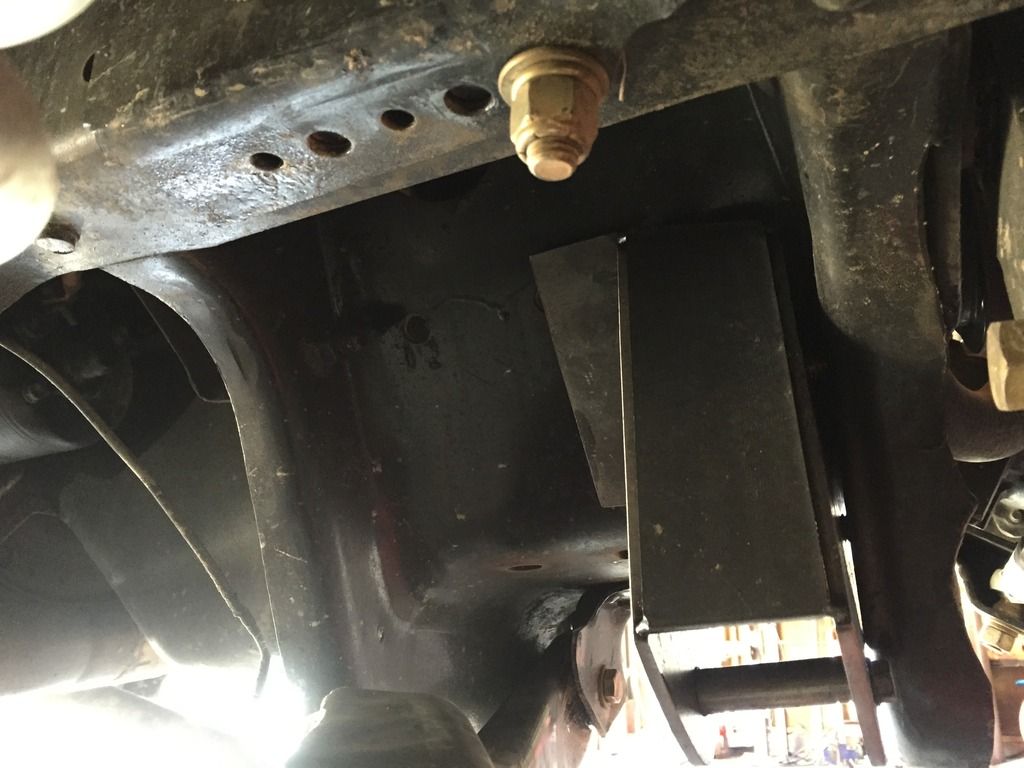
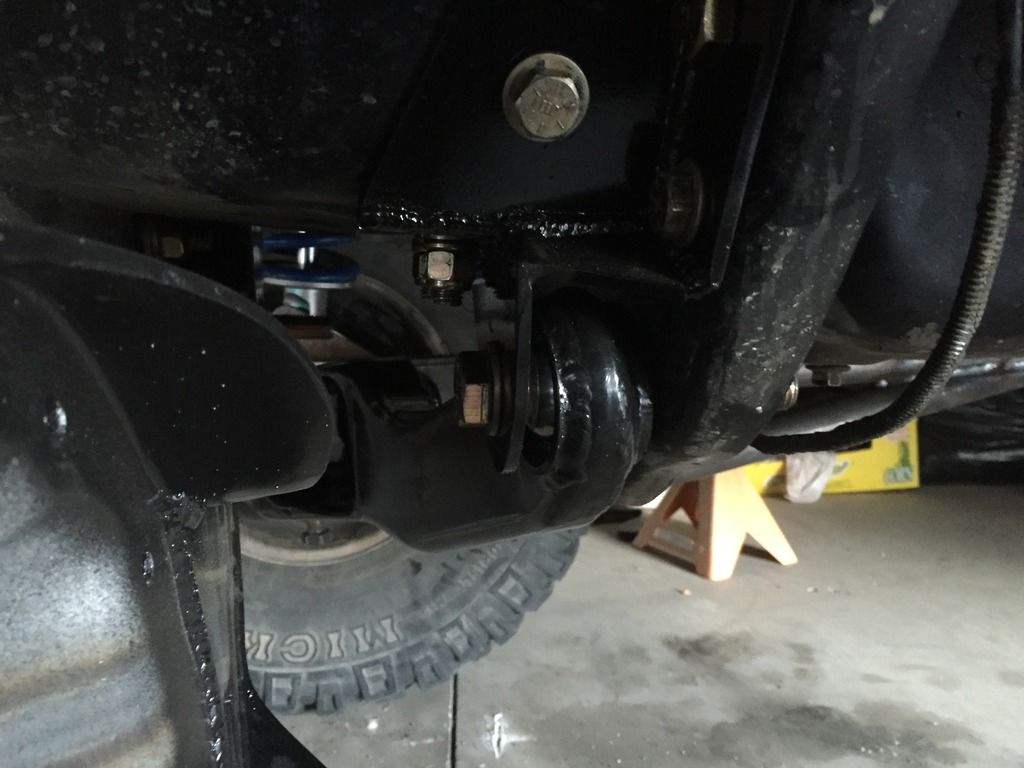
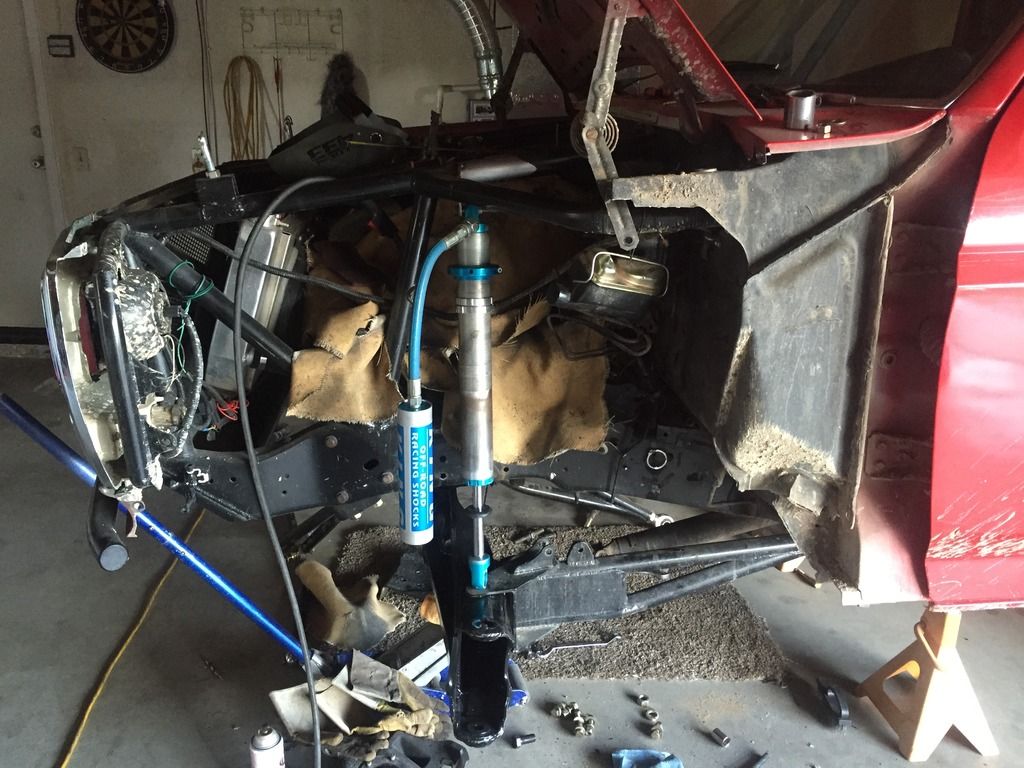
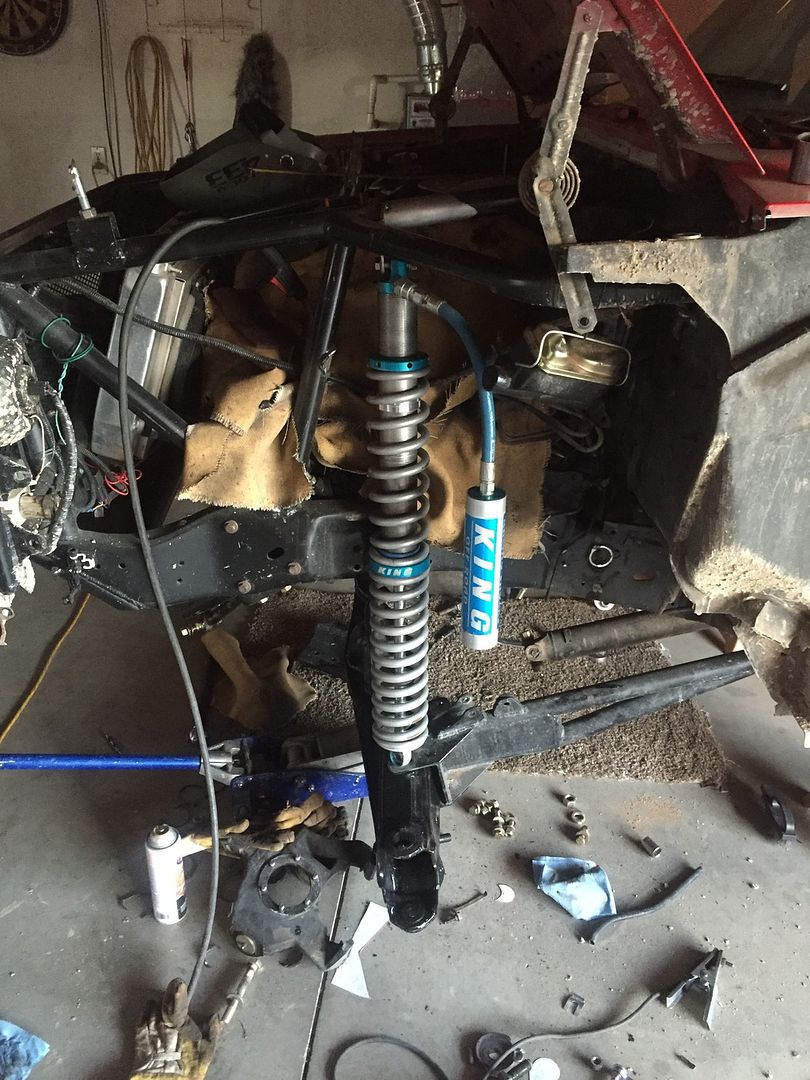
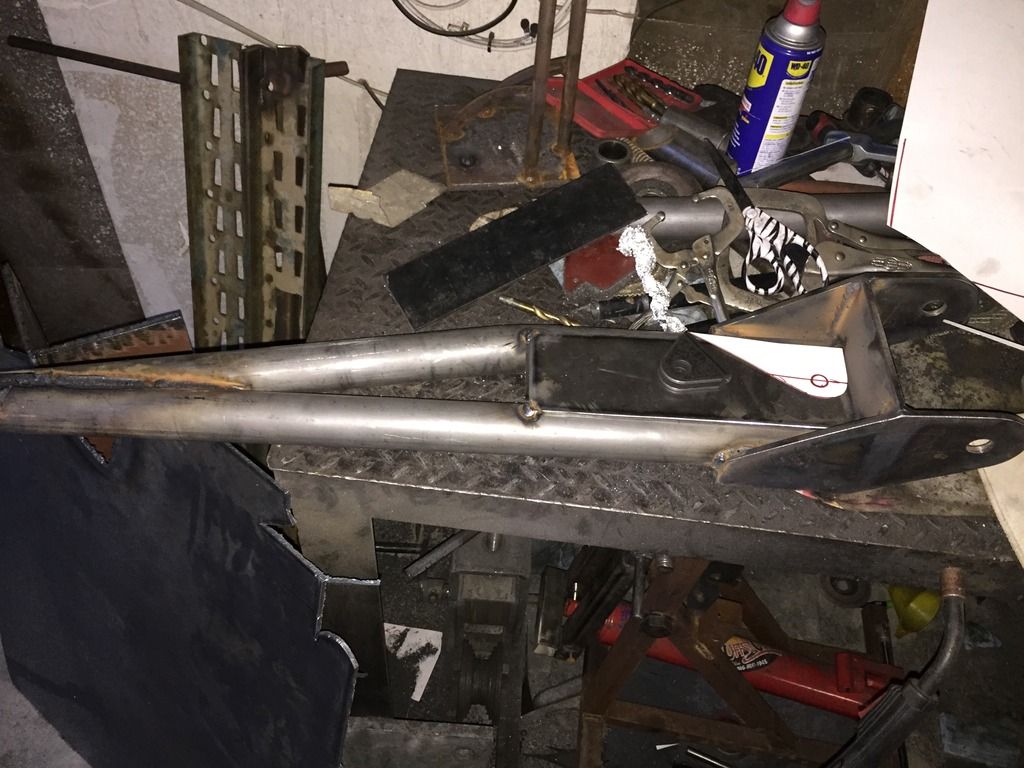
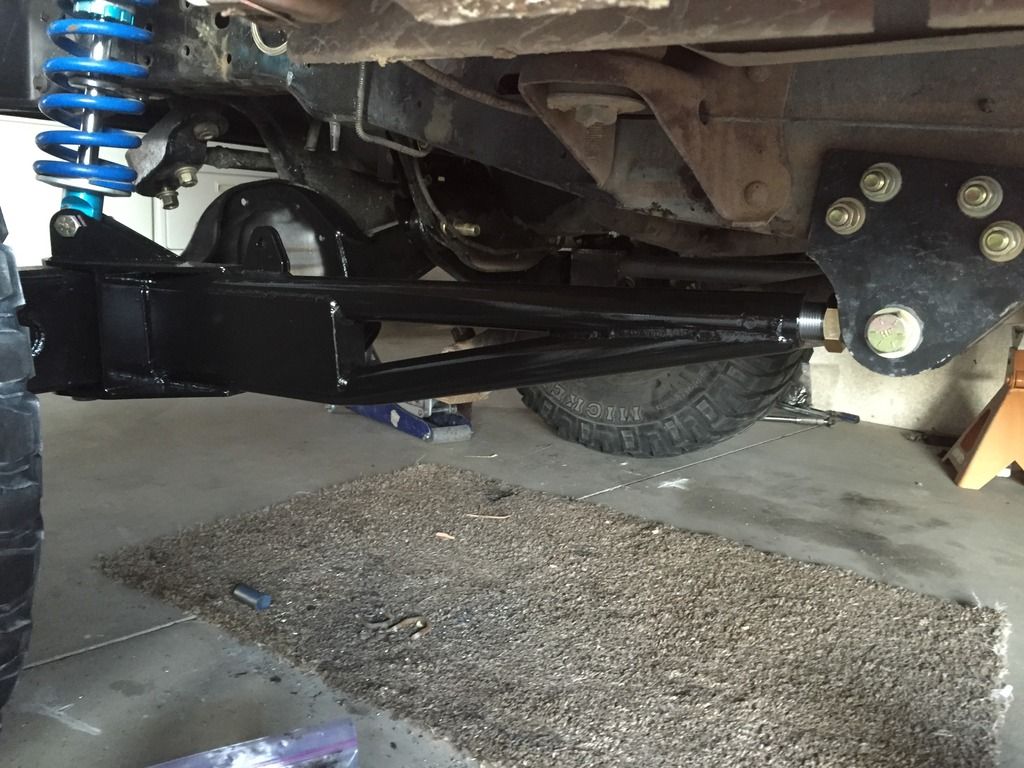
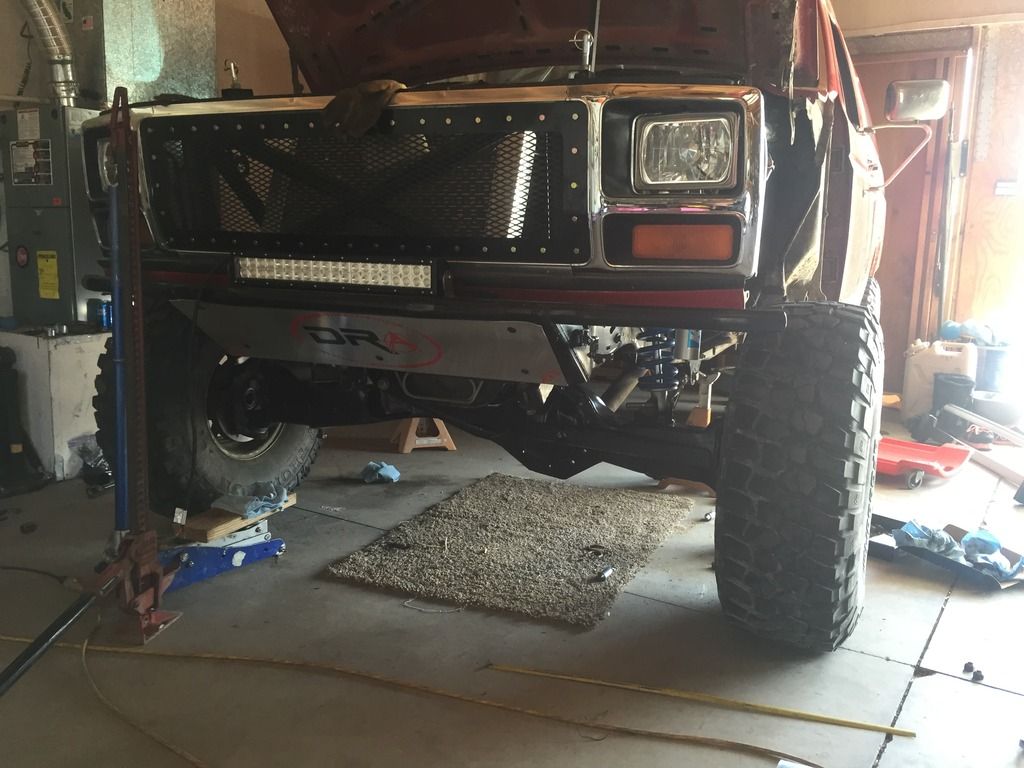
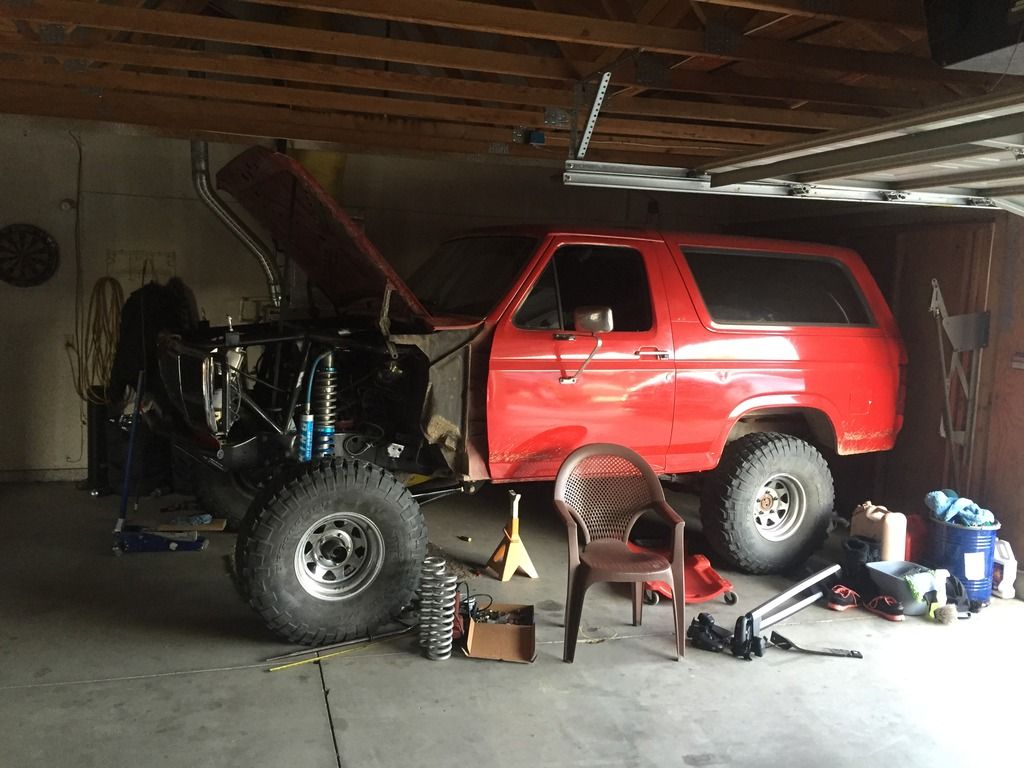
Some more progress on the bronk. Mostly pix. Hopefully it's be ready to roll in a few more weeks.
Image

Image

Image

Image

Image

Some new brackets to mount those uniballs. Stock configuration just beefier and wider.
Image

Image

Image

Getting the new kings mocked up
Image

Image

And some new rad arms since I sold my old ones.
Image

Image

Went with 4:56 front and rear
Image

And the stance. Still have to fine tune the ride height and spring rate but it will get me rollin.
Image

Image
User avatar
dezertrage760
Posts: 21
Joined: Wed Sep 05, 2012 6:29 pm
Bronco Info: 84 fsb 351w c6

Dezertrage Bronco

Post by dezertrage760 »

I am going to try and extend my axles myself. Any advice from someone who has done it yourself.
Rmc
El Jefe
Posts: 6026
Joined: Tue Oct 09, 2012 10:22 pm
Bronco Info: 94 bronco xlt prerunner
Location: IE SoCal
Contact:

Re: Dezertrage Bronco

Post by Rmc »

dtbback wrote:Wouldn't he gain more travel with clocking even though he's extended?
Clocking helps the clearance when one tire is up and the other is down. Basically the center u joint is raised by re clocking the diff ( from what I can remember anyway, it's been a few since I looked at it in front of me) but when the drivers beam is at tuck and the pass beam is at droop the axel hit the bottom of port window. With extended beams you usually run out of shock shaft before collision but it would depend on how high you place the full tuck position when placing the upper shock mount, height wise. When you cycle the front end be sure to check tuck on both, droop on both, driver up pass down, pass up driver down. You will recognize these 2 key locations as areas that need attention.
Anyway for what it's worth I hope this helps clarify. Oh the next issue becomes the center u joint it self, don't forget to clearance the yolks.

Beams look good, keep up the good work.
Rmc
El Jefe
Posts: 6026
Joined: Tue Oct 09, 2012 10:22 pm
Bronco Info: 94 bronco xlt prerunner
Location: IE SoCal
Contact:

Re: Dezertrage Bronco

Post by Rmc »

I just re-read this, it's actually when the opposite. Drivers beam at droop, pass beam at tuck it hits the bottom of the oprt window.
User avatar
dezertrage760
Posts: 21
Joined: Wed Sep 05, 2012 6:29 pm
Bronco Info: 84 fsb 351w c6

Dezertrage Bronco

Post by dezertrage760 »

Yea I experienced the yoke clearance problem and the pass side window problem. Fixed both already. Thanks for the advice. And I will post results when I put the front diff and axles in.
User avatar
ChaseTruck754
Spy/Ninja
Posts: 9194
Joined: Thu Jan 28, 2010 9:46 am
Bronco Info: Don't have one - just old Ford trucks
Location: Huntington Beach, CA

Re: Dezertrage Bronco

Post by ChaseTruck754 »

dezertrage760 wrote:I am going to try and extend my axles myself. Any advice from someone who has done it yourself.
Chris Wilson had a pretty good little post on how to do it somewhere on here, but he bought spare axles & cut them so as to not have a hollow gap if using a tube to extend. Run a sleeve over the deal that extends past the splice a bit on either side and then fishmouth the end of the sleeve tube for more weld surface area on the ends, as well as rosette or plug welding further in. Do the rosettes at 90* from each other.

Hard to explain with words vs. holding an axle & talking you through it in person, but this is what we've got, so hopefully my words make enough sense.
User avatar
Wrightracing.net
Posts: 2214
Joined: Thu Oct 28, 2010 9:58 pm
Bronco Info: 1972 Bronco with an 86 chassis, full cage and Long travel coil-over suspension.
Location: San Diego
Contact:

Post by Wrightracing.net »

In theory, I would be concerned with out of balance weight wise. But I have seen a bunch done without a problem. Rmc posted a good price on custom axles, but I don't remember where from. Robert, do you remember the vendor and price?
dtbback
Posts: 1677
Joined: Mon Mar 03, 2014 8:45 am
Bronco Info: 1996 EB 351W!! First Bronco!! Plan: Prerunner/ Trail Rig/ SHTF All around Rig

Re: Dezertrage Bronco

Post by dtbback »

I heard they are 400 from Dutchman.
Rmc
El Jefe
Posts: 6026
Joined: Tue Oct 09, 2012 10:22 pm
Bronco Info: 94 bronco xlt prerunner
Location: IE SoCal
Contact:

Re: Dezertrage Bronco

Post by Rmc »

Oh ya Dutchman sells axels cut you your specs for 400$ a pair. They are buying blank forgings, roll forming the splines vs hobbing them, then machining the eyes and then heat treat. So when you order them they have pre heat treated axels with 2ft of spline on them. They chop saw them to length then turn off the unwanted spline length. It's a very smart way to manufacture them actually. There may be a little bit less strength in roll form vs hobbing but I have never heard of a set failing. Mine still look new after 2 years and no significant signs of ware.

As far as the cut and sleeve method I would chop them, turn a 1"shoulder on each axel segment, then machine a female counter part. So a shaft with 2 1" deep holes very close in diameter to the axel segments. Lay it in a v-block then weld it up. They key is keeping them straight. You could always sleeve over the 2 unions for added security.
dtbback
Posts: 1677
Joined: Mon Mar 03, 2014 8:45 am
Bronco Info: 1996 EB 351W!! First Bronco!! Plan: Prerunner/ Trail Rig/ SHTF All around Rig

Re: Dezertrage Bronco

Post by dtbback »

Rob, why not bore and use a double sided male extension? Would make the extension portion. Stronger and less susceptible to warping from the heat.
dtbback
Posts: 1677
Joined: Mon Mar 03, 2014 8:45 am
Bronco Info: 1996 EB 351W!! First Bronco!! Plan: Prerunner/ Trail Rig/ SHTF All around Rig

Re: Dezertrage Bronco

Post by dtbback »

The double sided male extension could be made with a half circle radius and the axle bore to match. This would distribute the load on the axles better.
User avatar
dezertrage760
Posts: 21
Joined: Wed Sep 05, 2012 6:29 pm
Bronco Info: 84 fsb 351w c6

Dezertrage Bronco

Post by dezertrage760 »

Thanks for all the advice. I was thinking about doing them like chase truck754 described. Should be plenty strong. I don't use 4wd that often so I don't think balancing should be a huge issue.
Post Reply