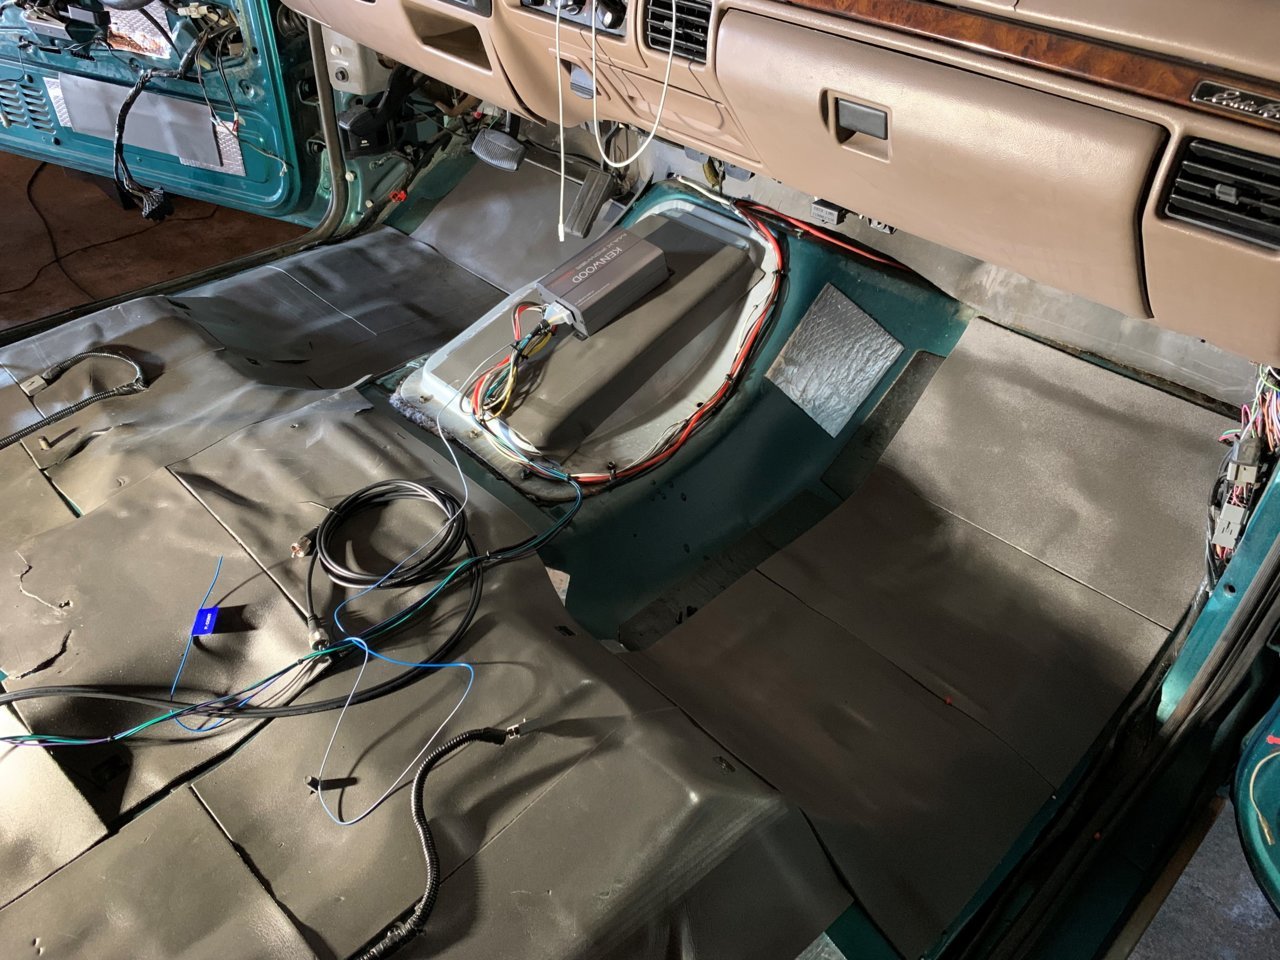
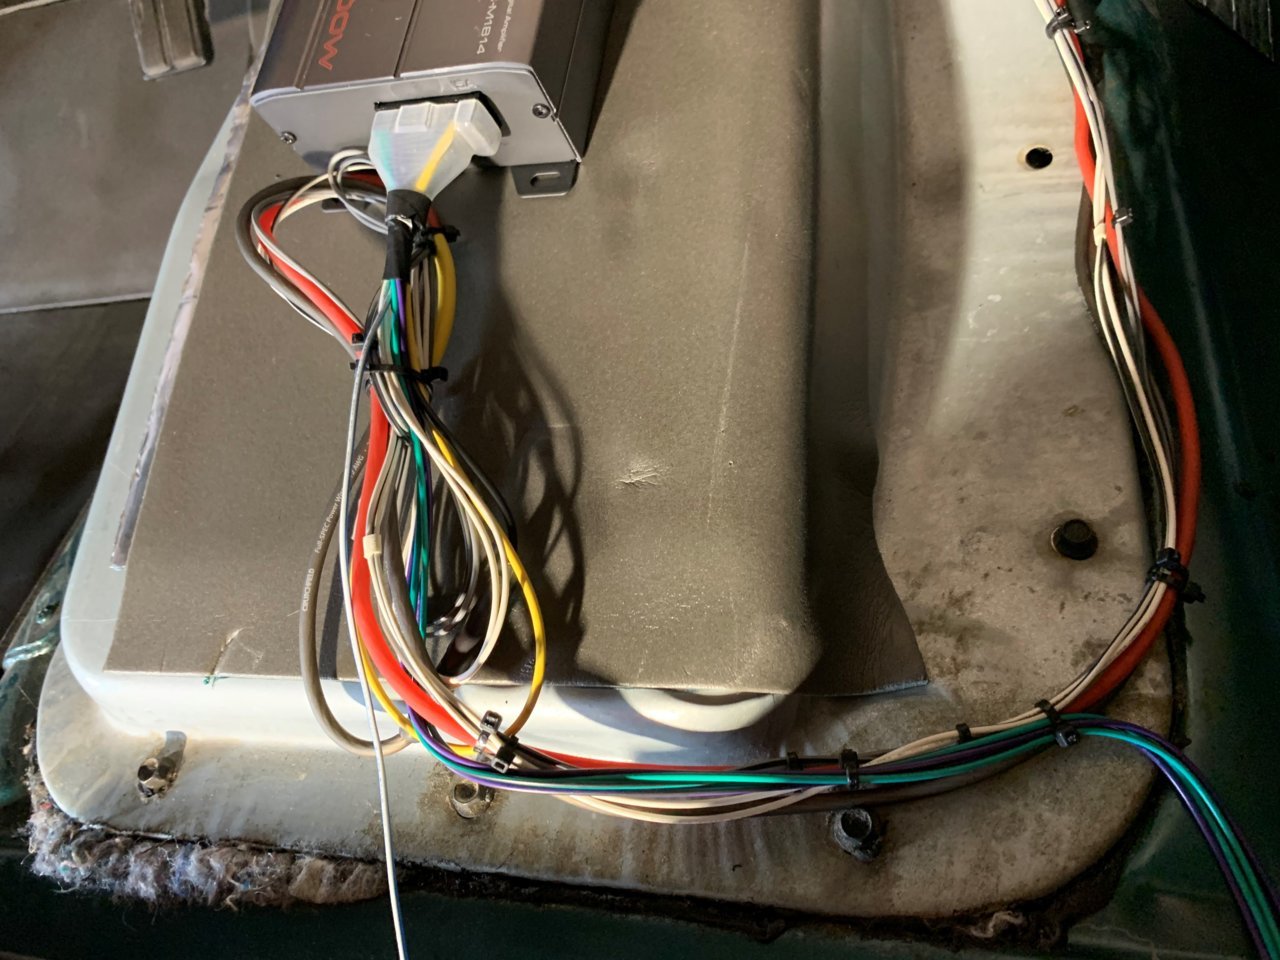
Be careful of those type of crimp terminals Will. They can splay the strands and detract exactly what you're trying to achieve in a cleaner sound. Solder would make them far more bulletproof, but if that solution isn't viable for whatever reason then I'll recommend a mechanical crimp solution to all that's 99% as good.Becks_Bronco wrote:Mostly wrapped up my new speaker wiring and mini 4 channel amp harness. I should be able to run RCA's from the aftermarket head unit directly to the amp, bypassing all of the factory speaker wiring. Hoping for a stronger cleaner sound.
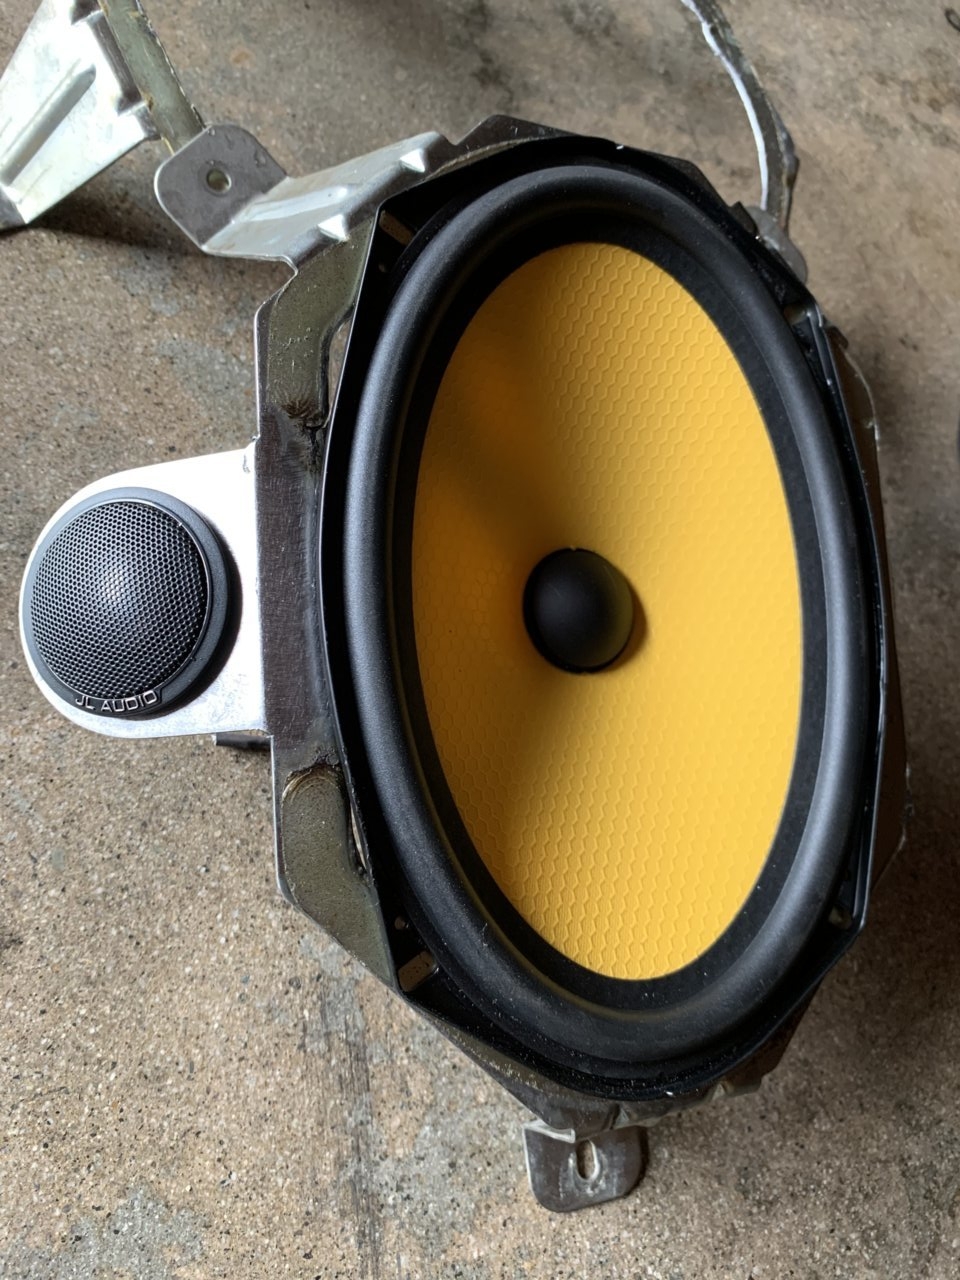
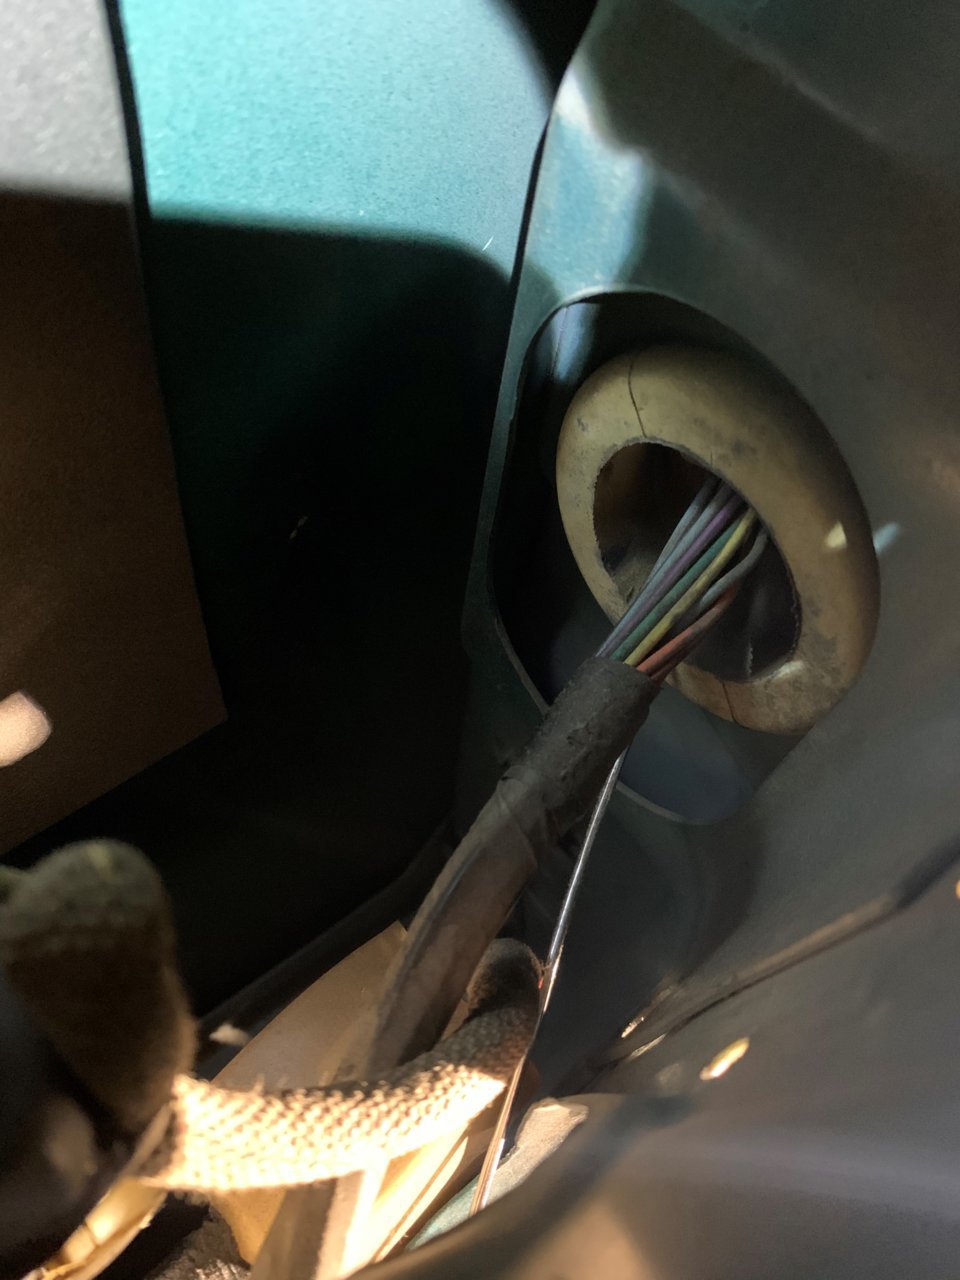
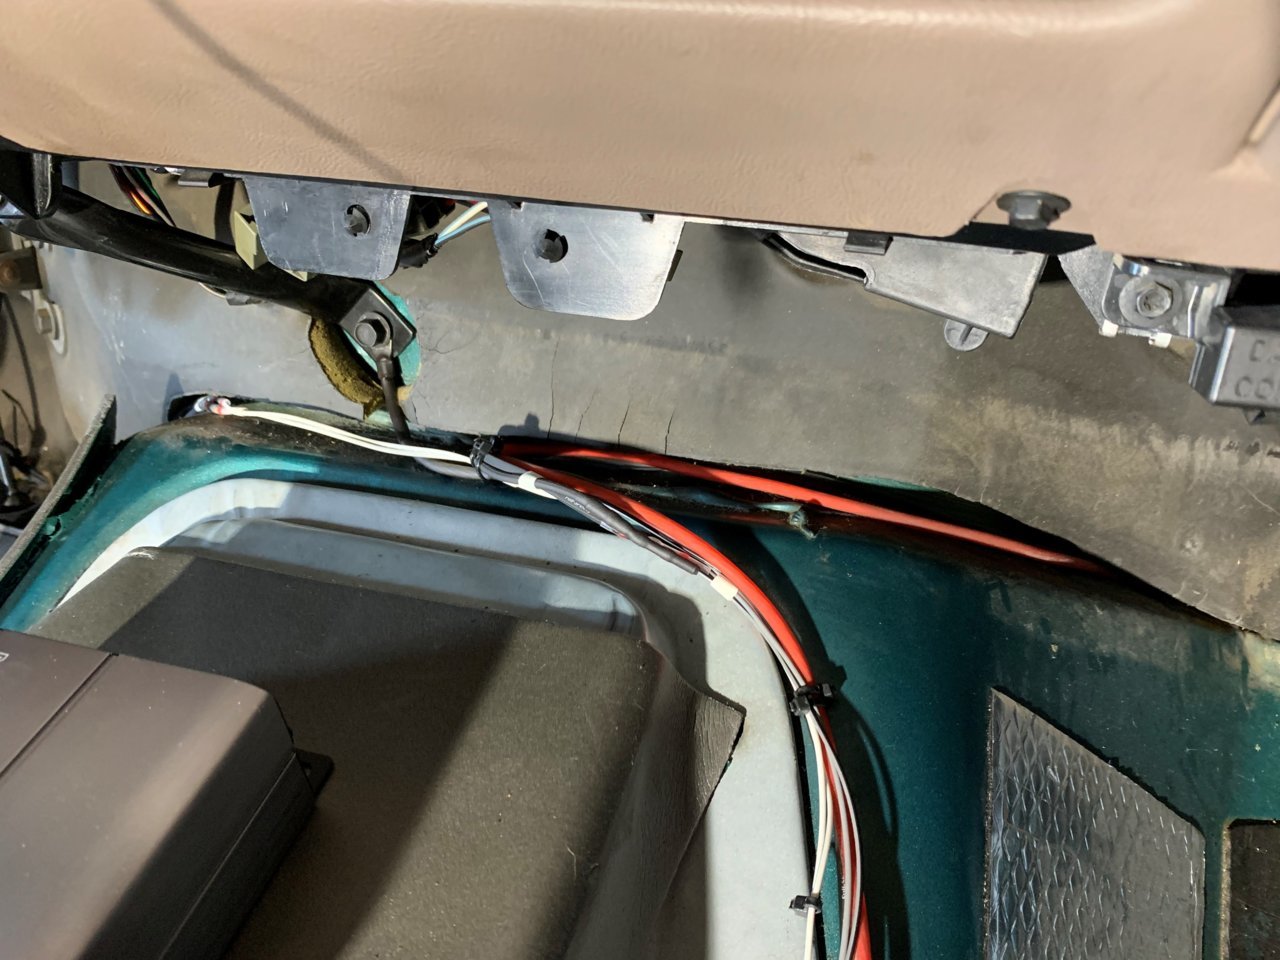
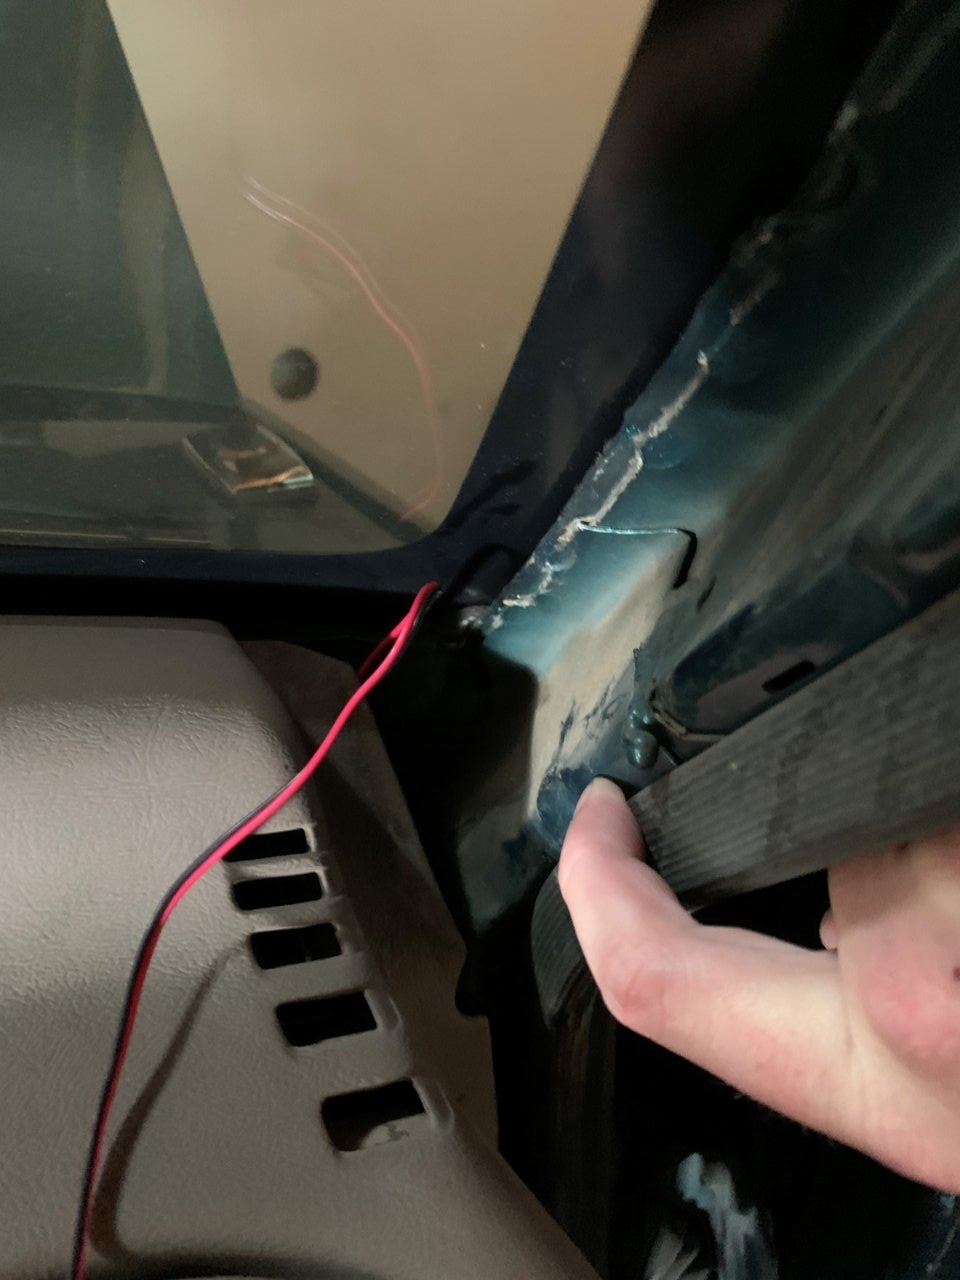
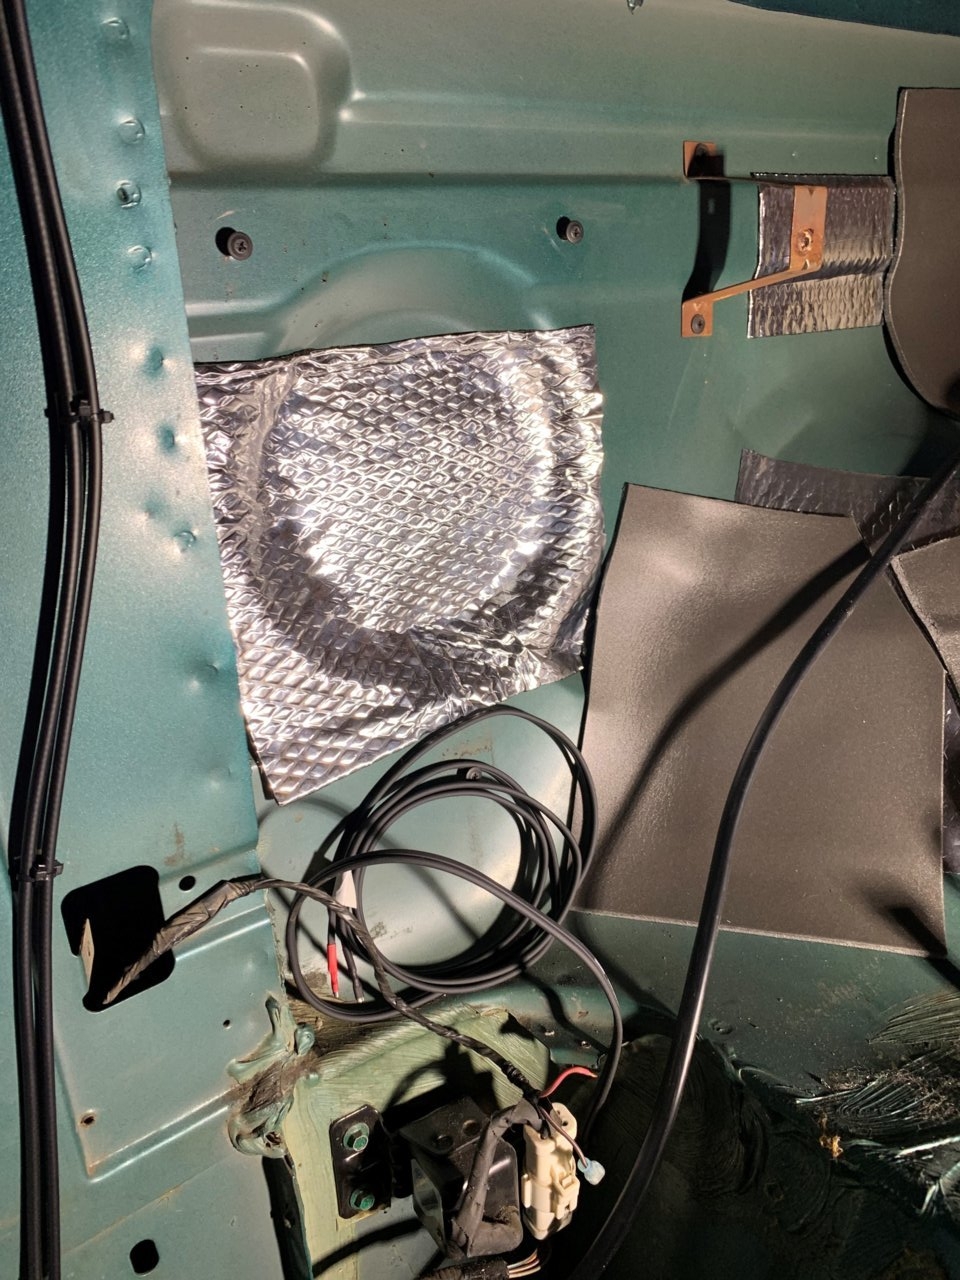
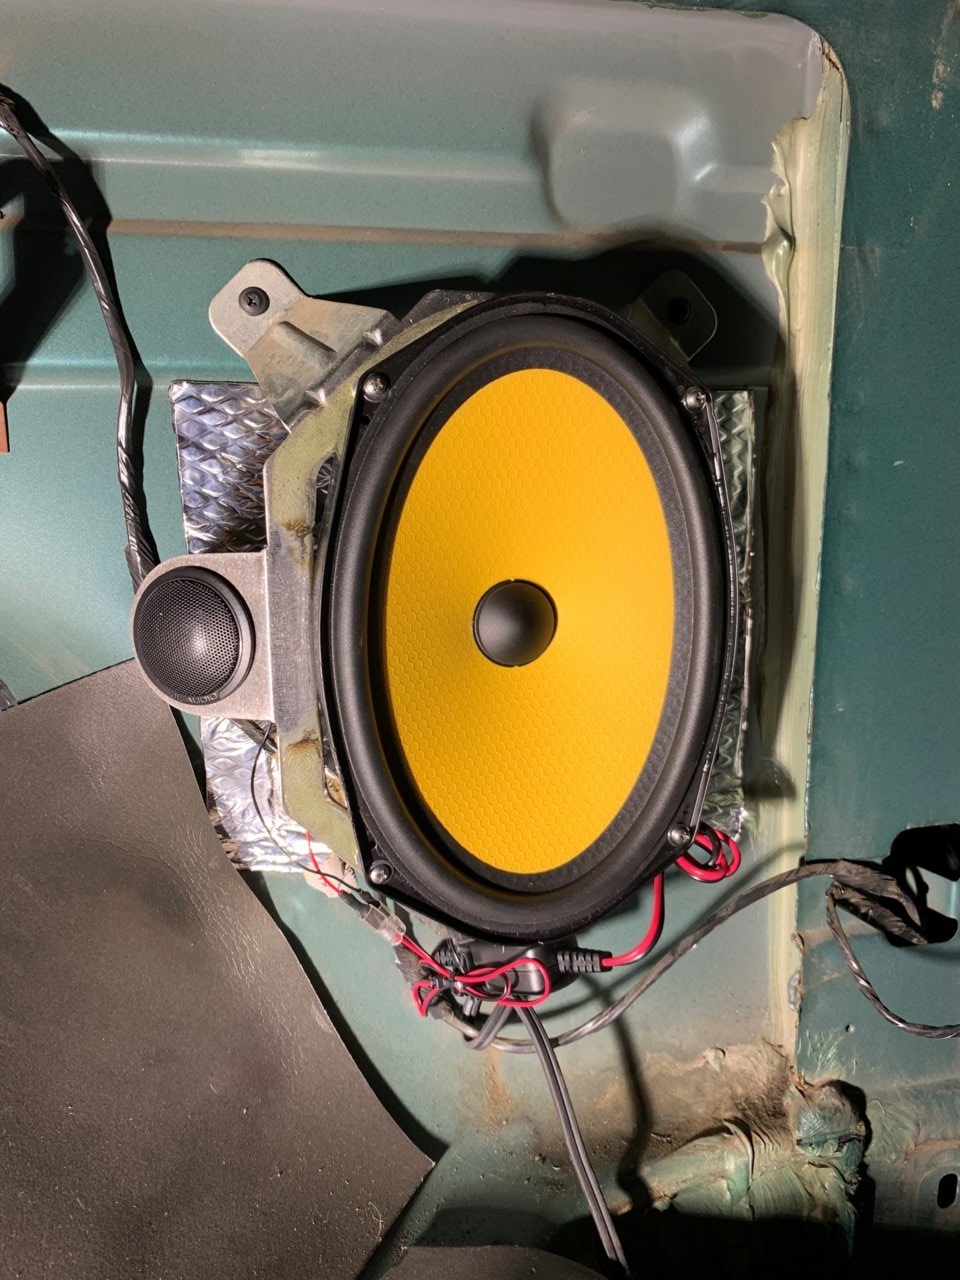
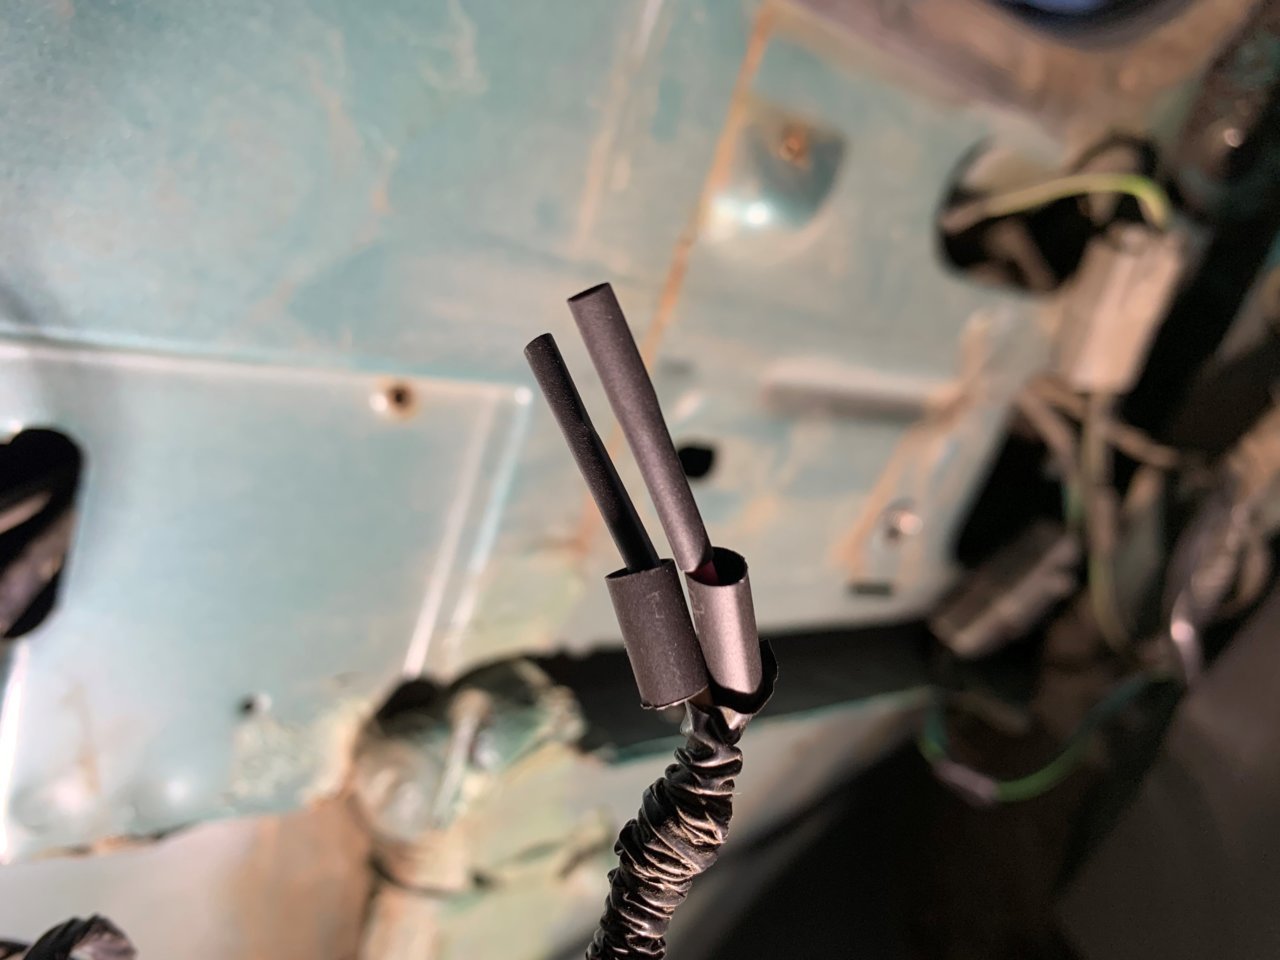
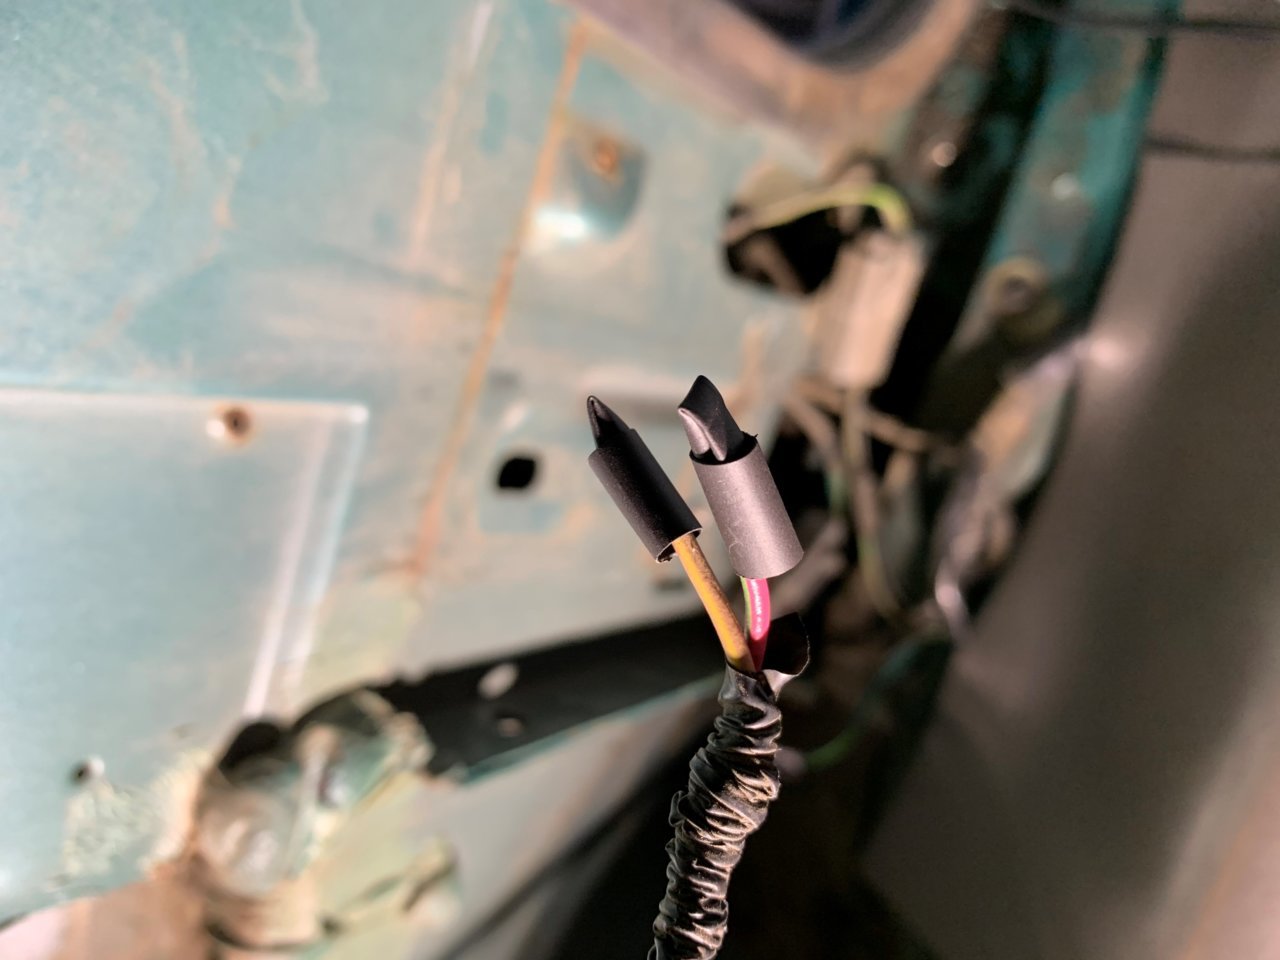
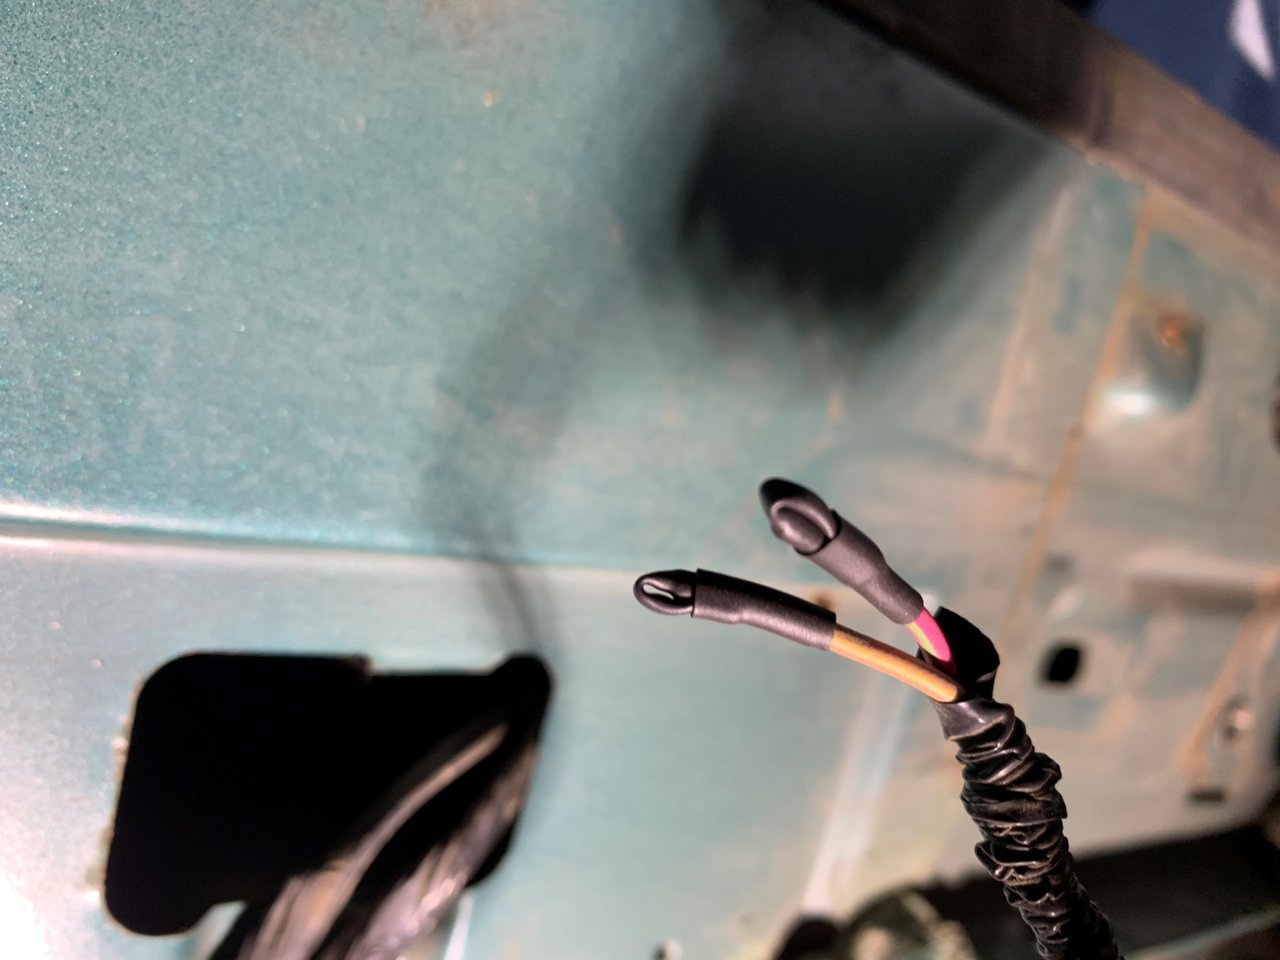
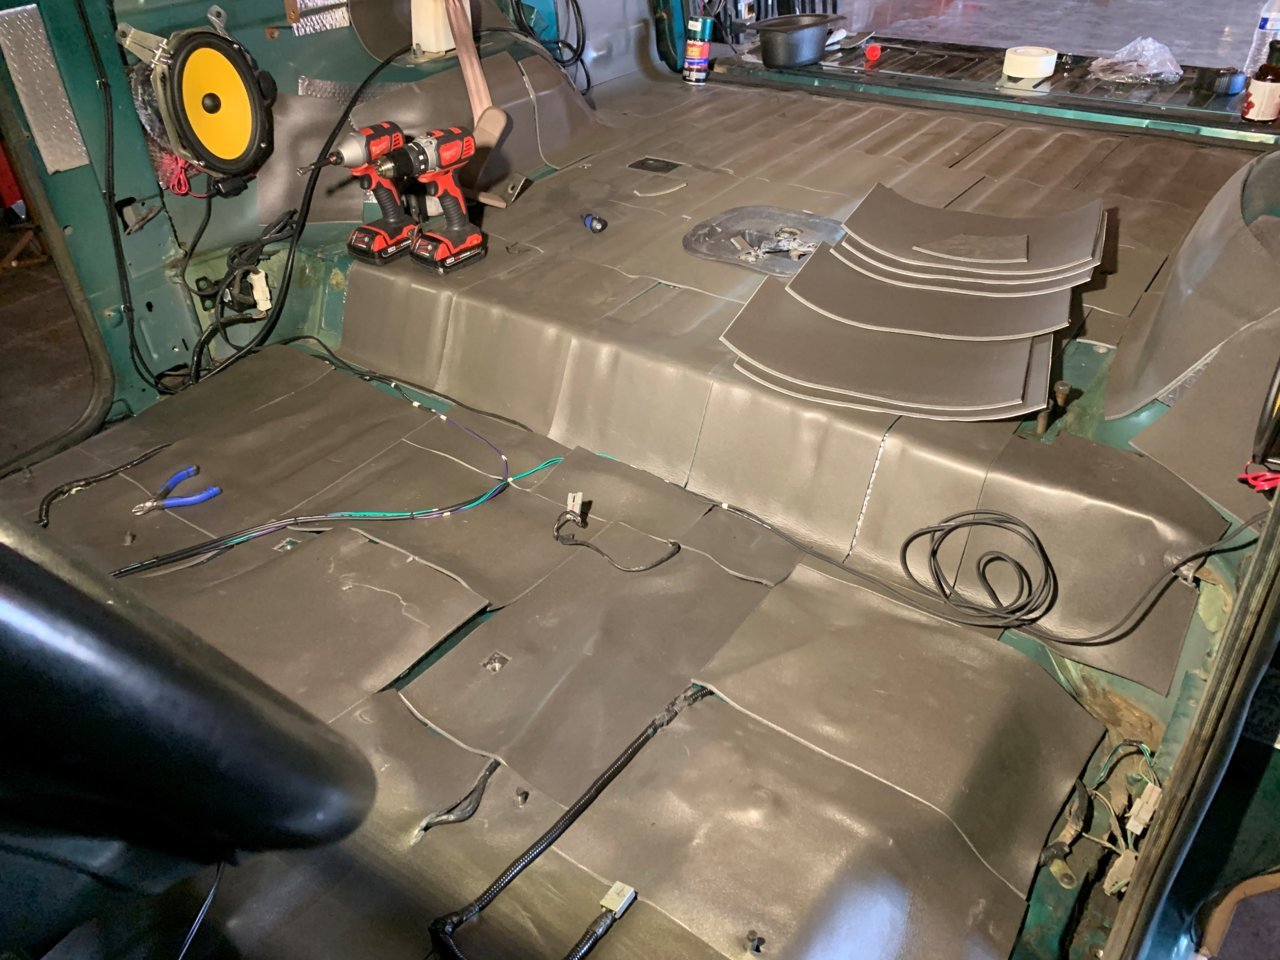
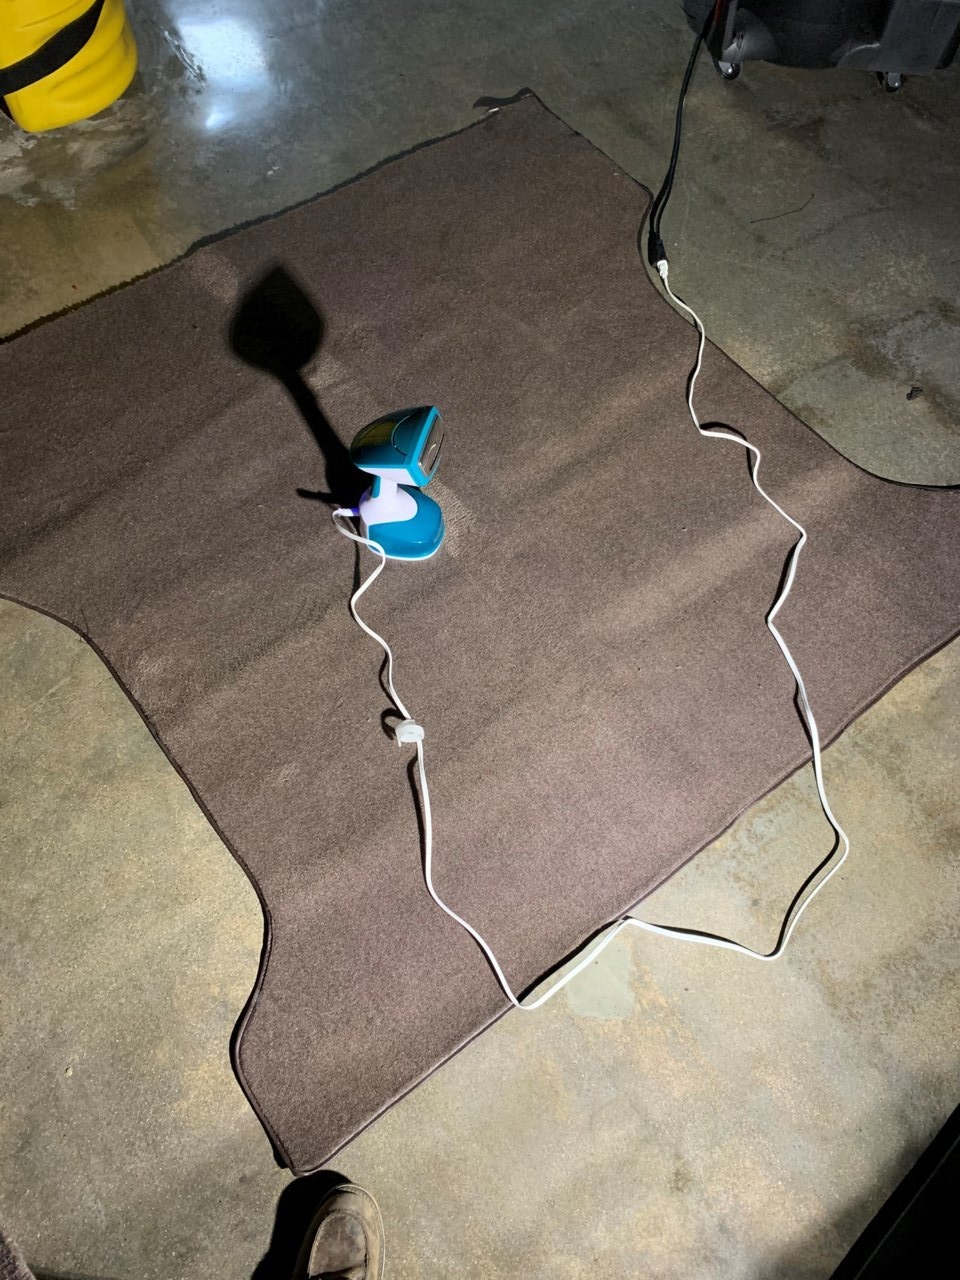
Every connection from the harness pigtail provided by Pioneer to the speaker wire got a solder sleeve, with an extra layer of heat shrink for protection. There should be little to no load on these connections, as the20awg of the main harness will be under the carpet, and the 16awg going from the harness to the speakers with thick insulation will be run to the speaker itself.
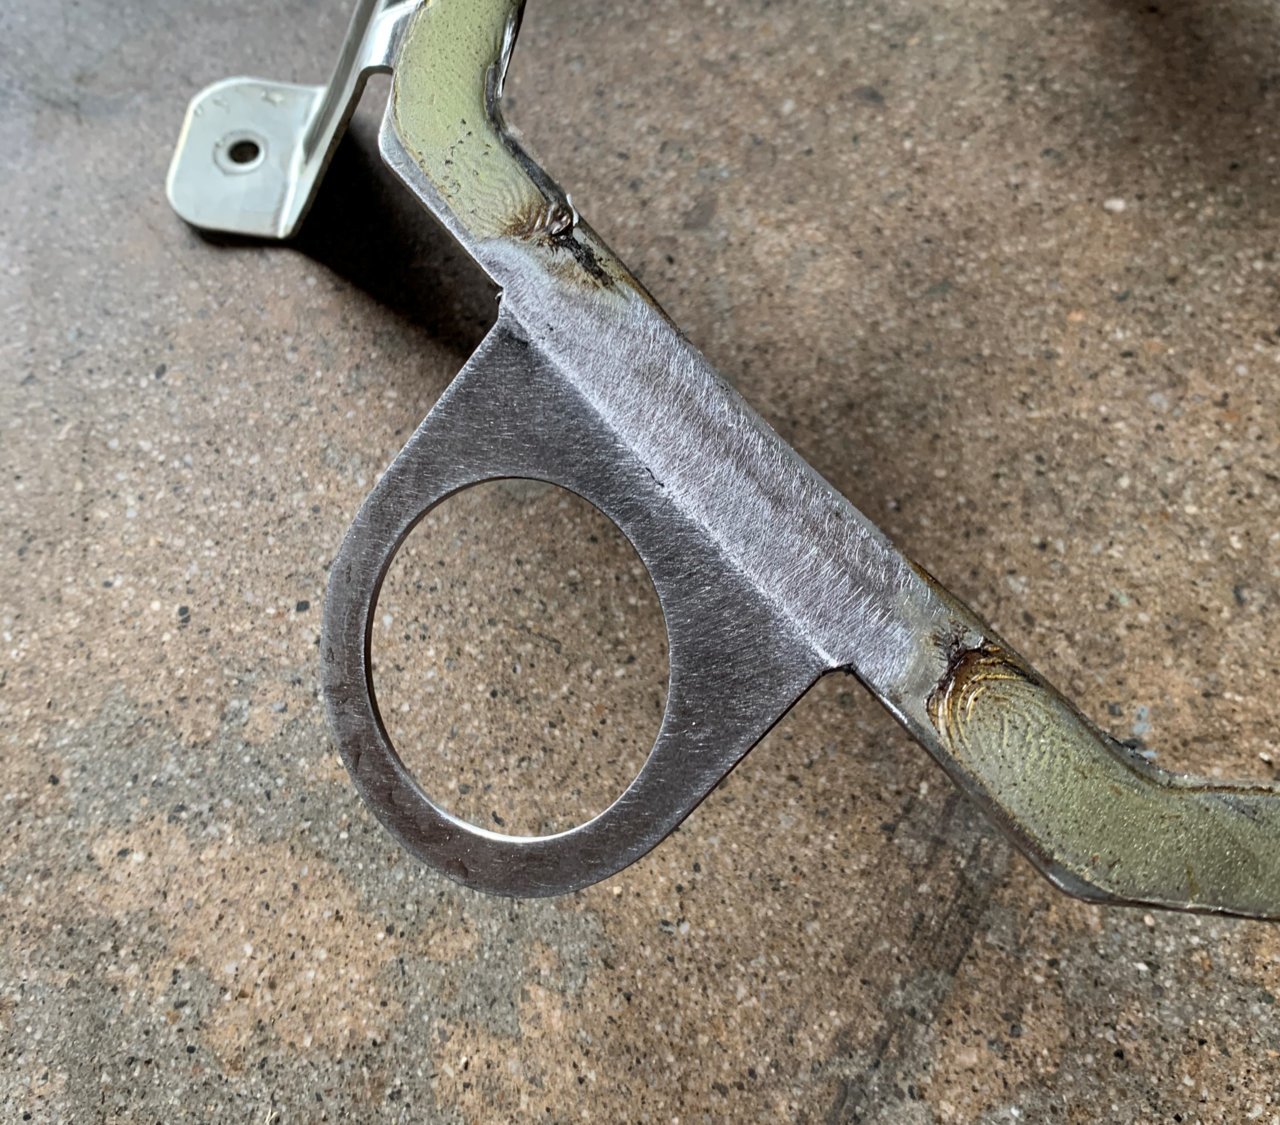
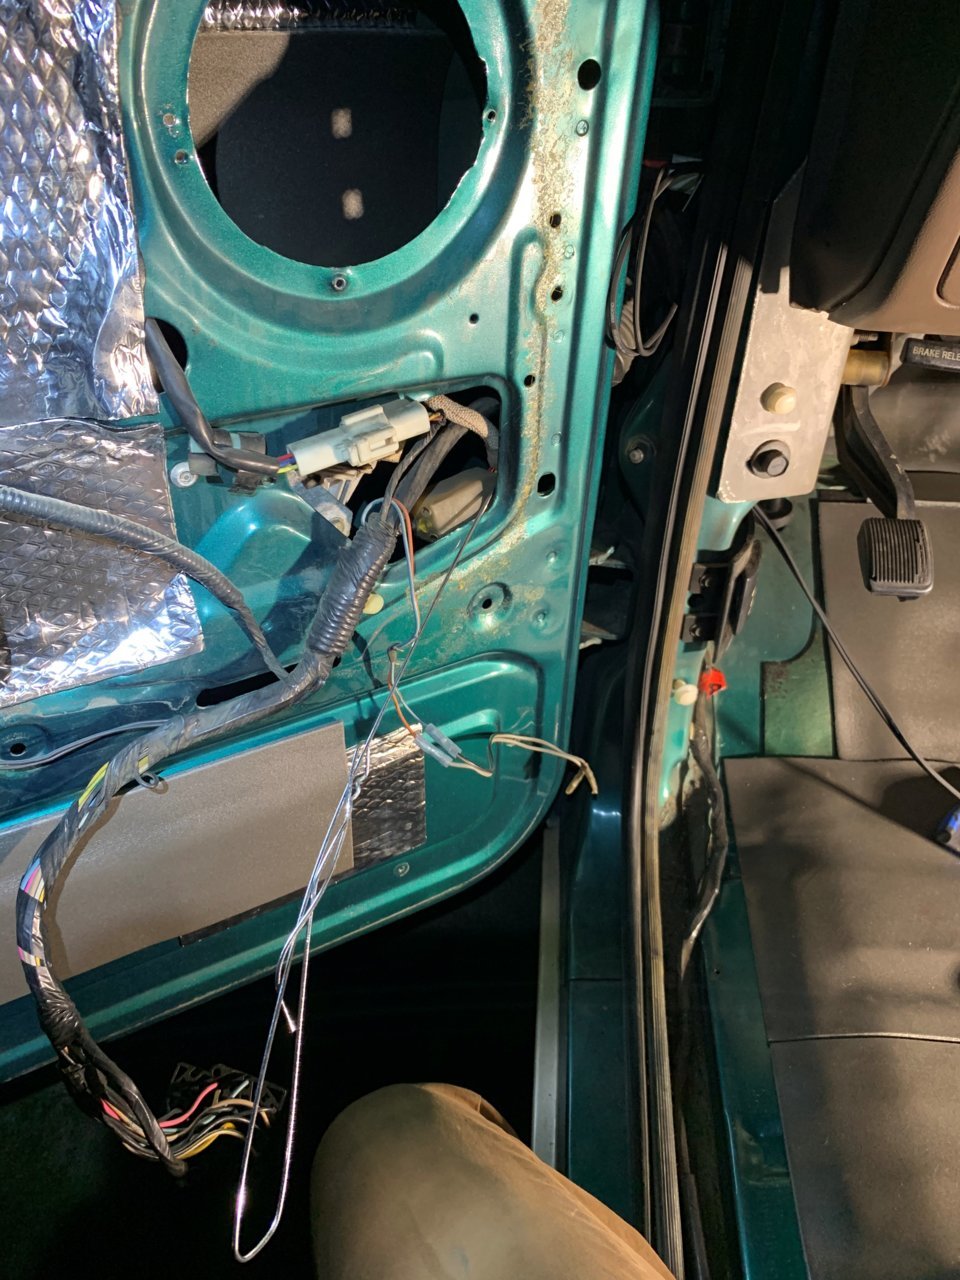
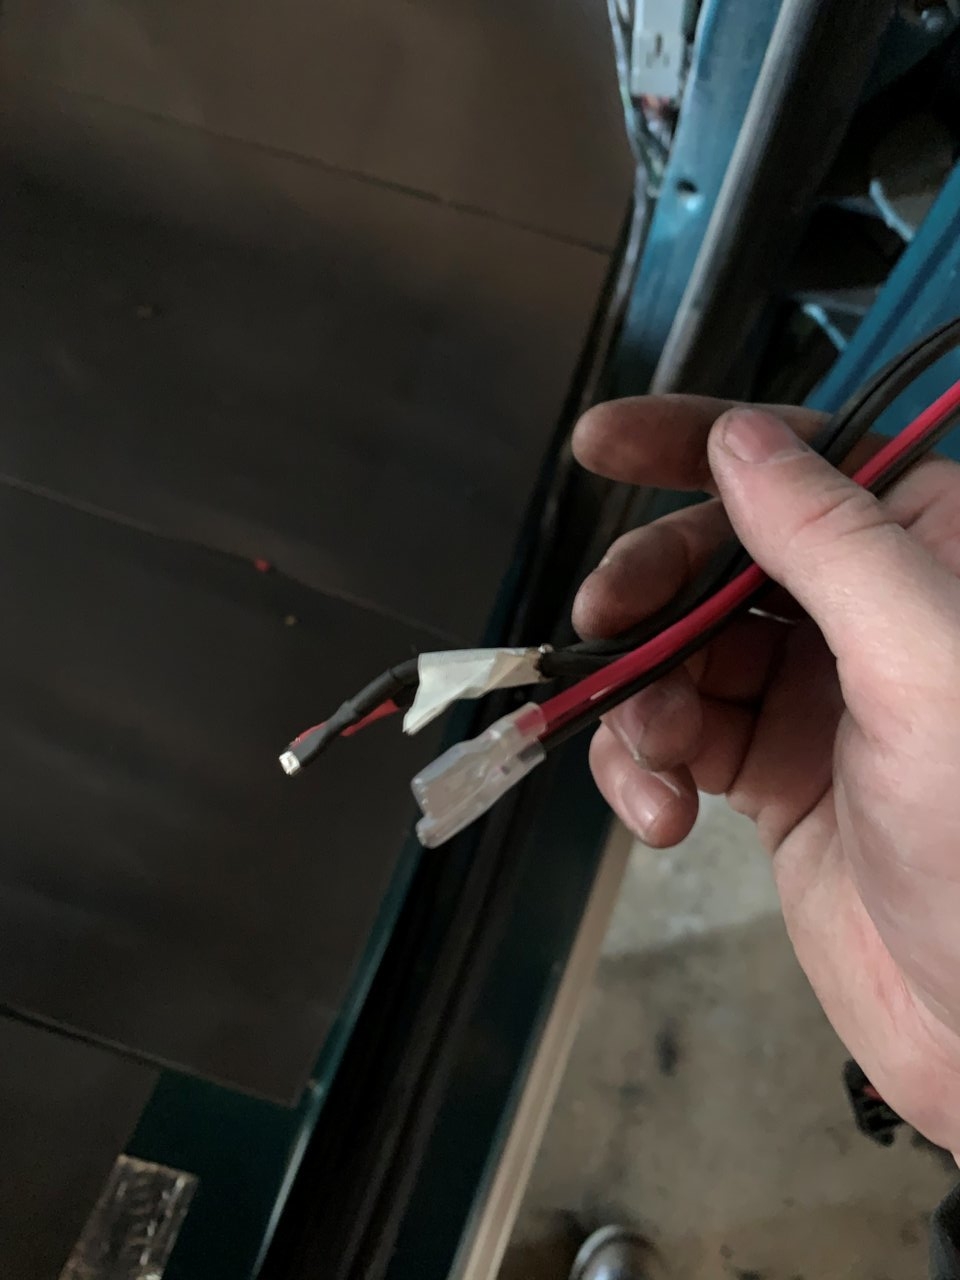
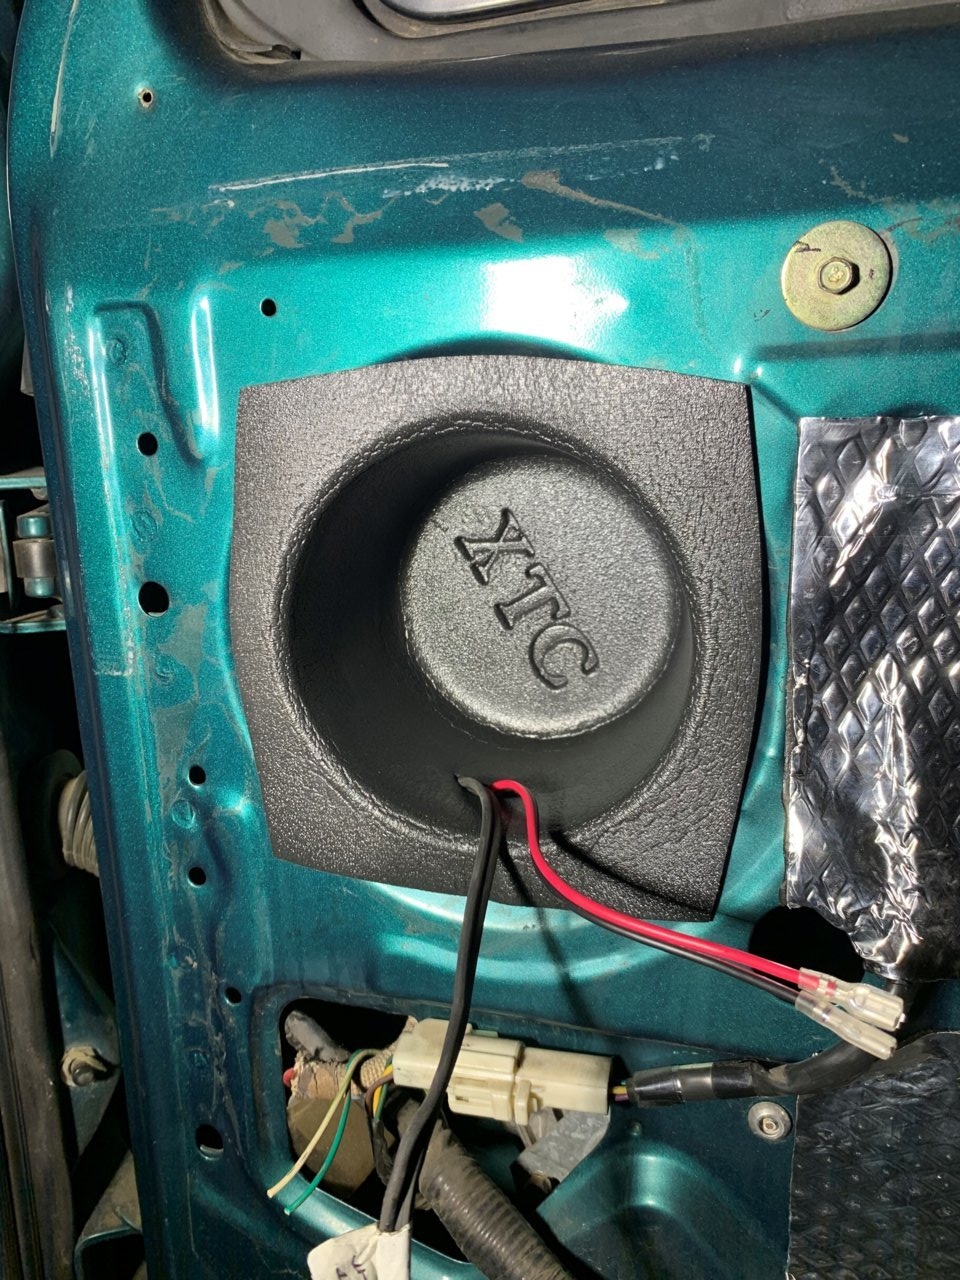
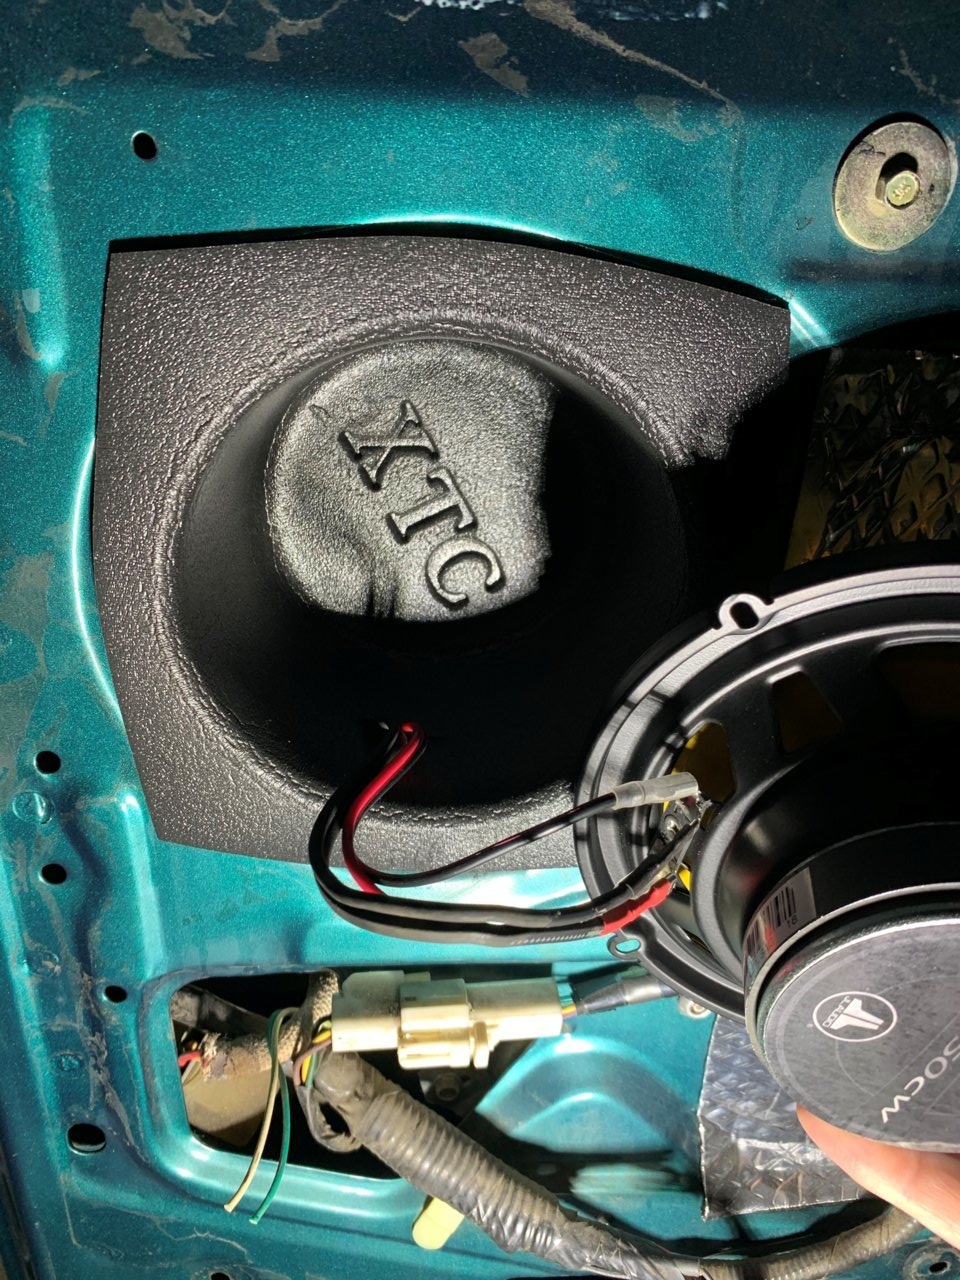
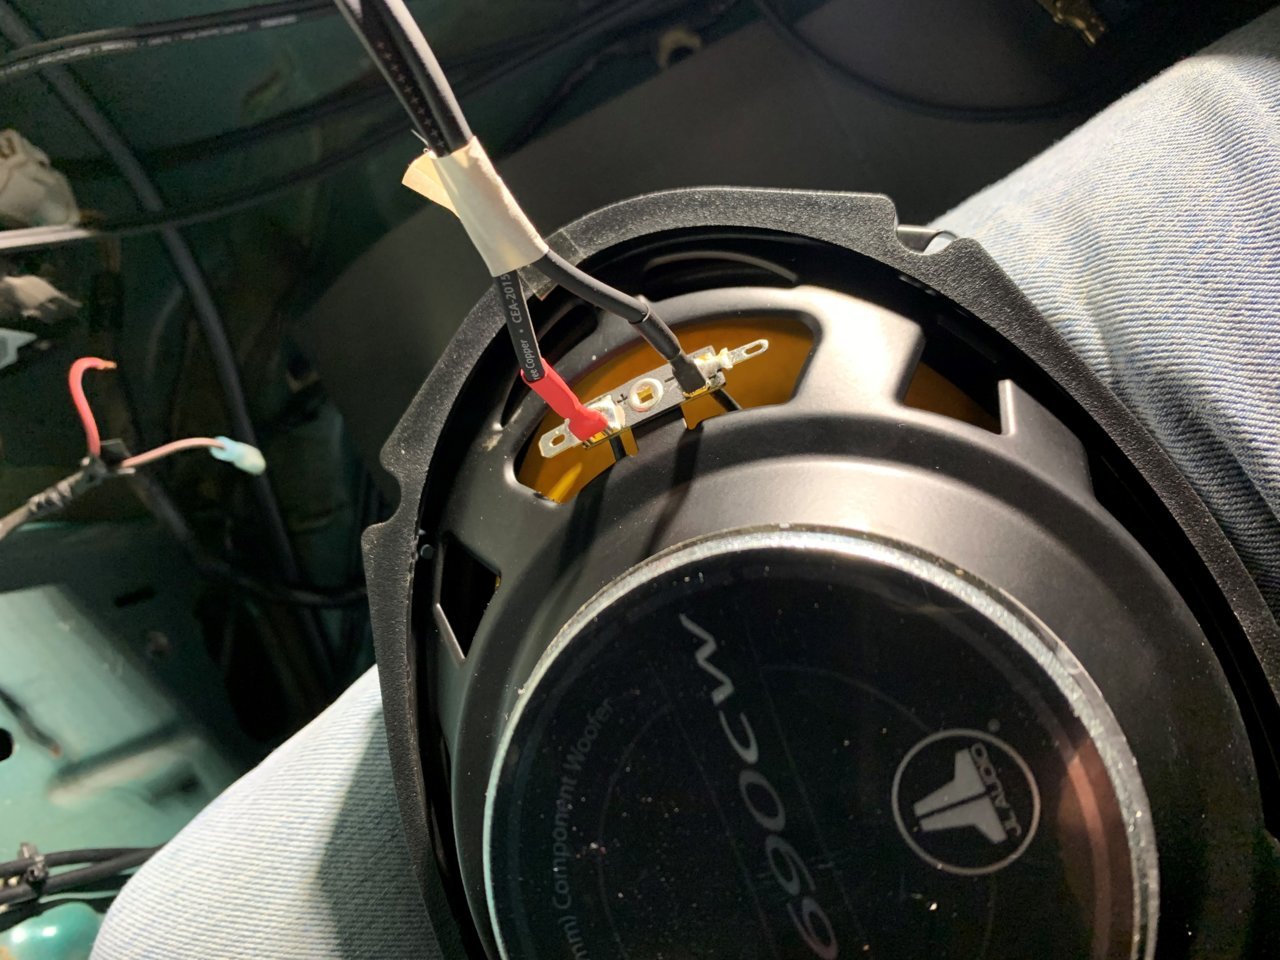
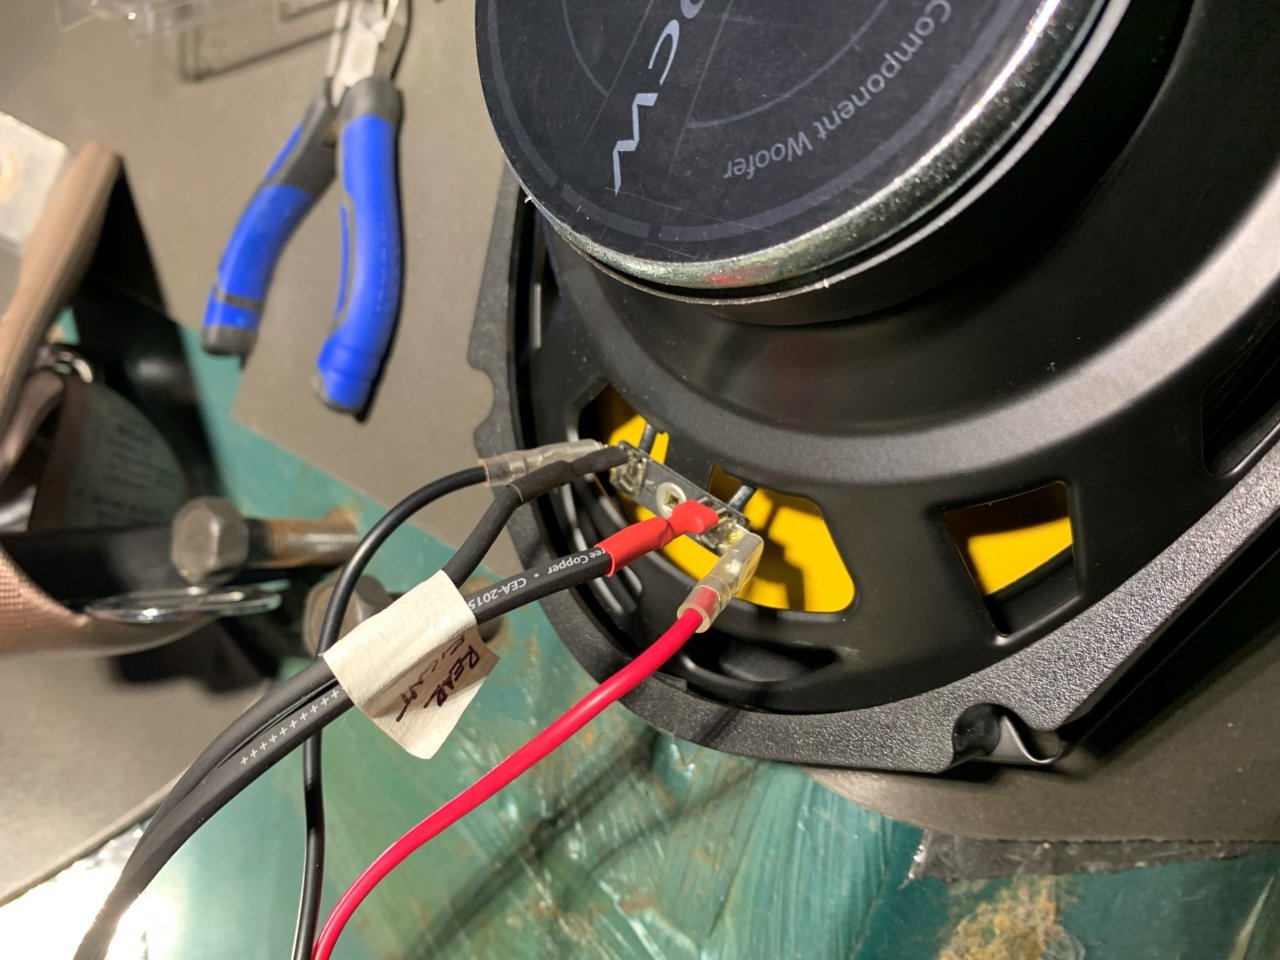
The + and - connections on the speakers are all sized, crimped, and shrink wrapped to match

If heat shrink is happening or necessary, we use only terminals that are non-insulated, heavy wall, serrated barrel, and brazed seam. We consider Thomas & Betts (T&B) Sta-Kon the best.....in this case #A18-250 or #B14-250. The wall on the disconnect terminals isn't as thick as the ring and fork terminals, because the ultimate connection stress is far less.
Even though the "insulation grip" style is also offered by Sta-Kon, we consider them worthless. Using a proper full cycle ratcheting crimp tool, if the conductor can pull out of the crimp then there are bigger problems than the silly little insulation grip fingers are going to solve. The only way to make such strain relief bulletproof is with adhesive lined heat shrink.
If moisture and corrosion are a concern, even adhesive shrink can't help on open barrel terminals. If the environment is such that these are a concern, then we "dip" the conductor into dielectric grease or similar before the crimp. This application has proven to live far longer than a dry crimp, heat shrink or not.
Some will say this prep and assembly could approach actual soldering, which is "sealed" by default.
But sometimes a soldering iron and/or the power to run it isn't available.
My two cents based on 35 years of crimp tool in hand.